How To Plan Paint Protection After Washing A Daily Driver
A practical step-by-step guide to how to plan paint protection after washing a daily driver, including preparation, instructions, common issues, tips, and next steps.
How To Plan Paint Protection After Washing A Daily Driver
This guide provides a structured, step-by-step approach to planning paint protection for a daily driver after a thorough wash. It emphasizes the importance of decontamination, surface preparation, and selecting the right protection product based on your driving habits and environment. By following these procedures, you will maximize the longevity and appearance of your vehicle's paint, making future maintenance easier and more effective.
Fast Answer
- Wash, clay, and dry the car completely before applying any protection. This ensures the paint is free of contaminants that could interfere with bonding.
- Choose a protection product that matches your needs, such as a wax for gloss or a sealant for durability, and apply it in a shaded, cool area.
Before You Start
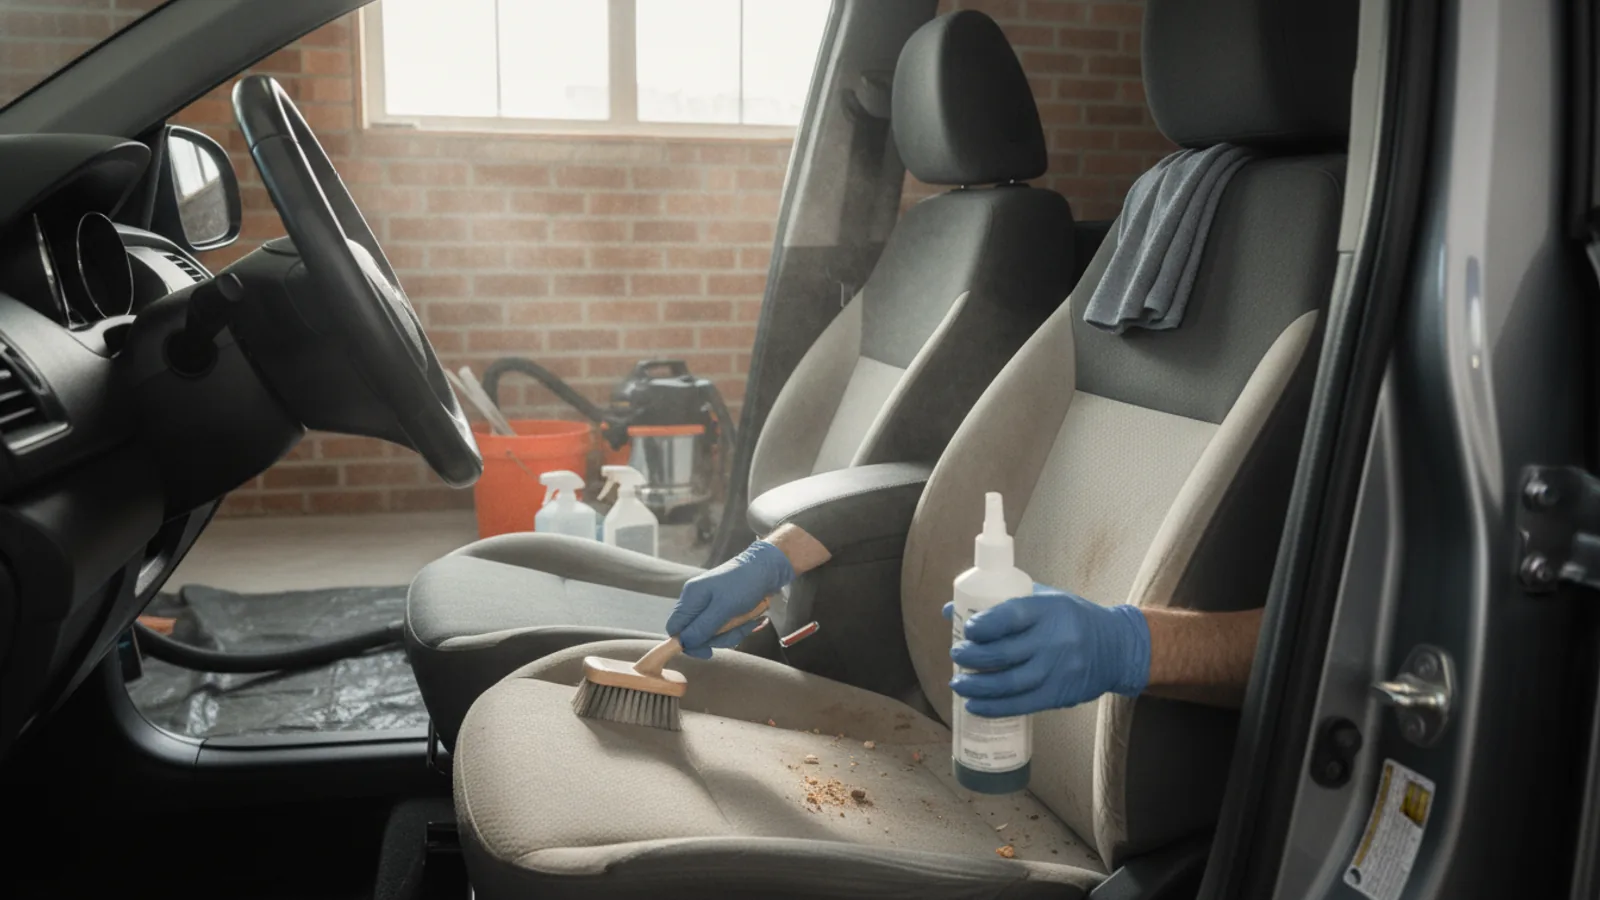
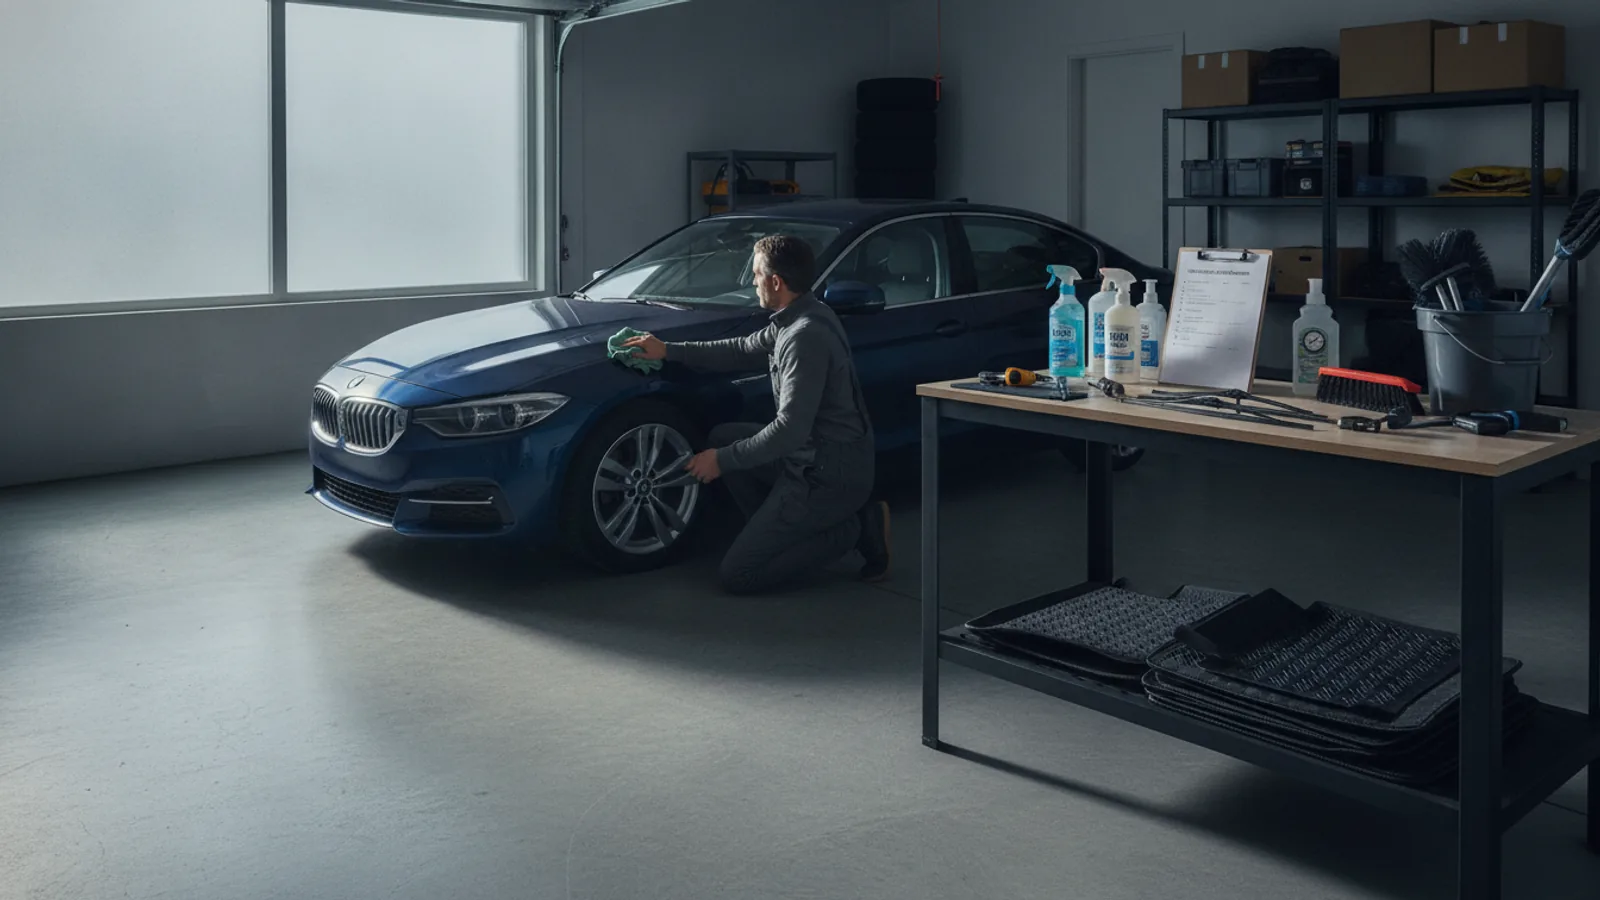
- Gather all necessary supplies: a pH-neutral car wash soap, microfiber towels, a clay bar kit, a spray lubricant, applicator pads, and your chosen paint protection product.
- Park the car in a shaded area, out of direct sunlight. This prevents the paint from becoming too warm, which can cause products to dry too quickly or streak.
- Perform a meticulous two-bucket wash using the grit guard to minimize swirl marks. Rinse thoroughly with clean water and dry using a soft, clean microfiber towel.
- After washing, run the back of your hand over the paint surface. If it feels rough, the paint has bonded contaminants like rail dust or tree sap. Proceed with clay bar decontamination.
Step-by-Step Instructions
Decontaminate the Paint Surface
After washing, the paint may still have embedded contaminants that washing alone cannot remove. Use a clay bar kit with lubricant to gently glide the clay over the surface. Work in small sections, keeping the panel lubricated to prevent marring. You'll feel the clay grabbing as it pulls out impurities; when it glides smoothly, that section is clean. Regularly knead the clay to expose a fresh surface. This step is critical because contaminants left behind will create a rough texture and prevent protection from bonding properly, leading to premature failure. Ensure the clay bar does not drop on the ground, as it will pick up grit and scratch the paint. After claying, wipe the area with a microfiber towel.
Dry the Vehicle Thoroughly
Use a clean, dry microfiber towel to dry the car immediately after rinsing. Work panel by panel, using a patting motion rather than rubbing to avoid creating micro-scratches. Pay extra attention to crevices where water collects, such as door jambs, mirrors, and the trunk seal. Use a leaf blower or compressed air to expel water from these tight spots if available. A completely dry surface is essential for protection adherence; any water droplets will cause the product to streak or not bond. This step also prevents water spots, which are mineral deposits that can etch the paint if left to dry. For best results, dry the car in the shade to reduce the speed of evaporation, and use multiple towels if needed.
Select the Right Protection Product
Decide between a natural carnauba wax, a synthetic sealant, or a ceramic coating based on your needs. Waxes offer a deep, warm shine and are easy to apply but require frequent reapplication (every few months). Sealants provide longer durability (up to 6 months) and better chemical resistance. Ceramic coatings offer the longest protection (years) but are more expensive and require meticulous application. Consider your daily driving conditions: if you park outdoors, a sealant or coating is better; if you enjoy detailing often, a wax may suffice. Read the product label carefully for instructions and compatibility with your paint type. Choose a product that matches your time and maintenance commitment.
Apply the Protection Evenly
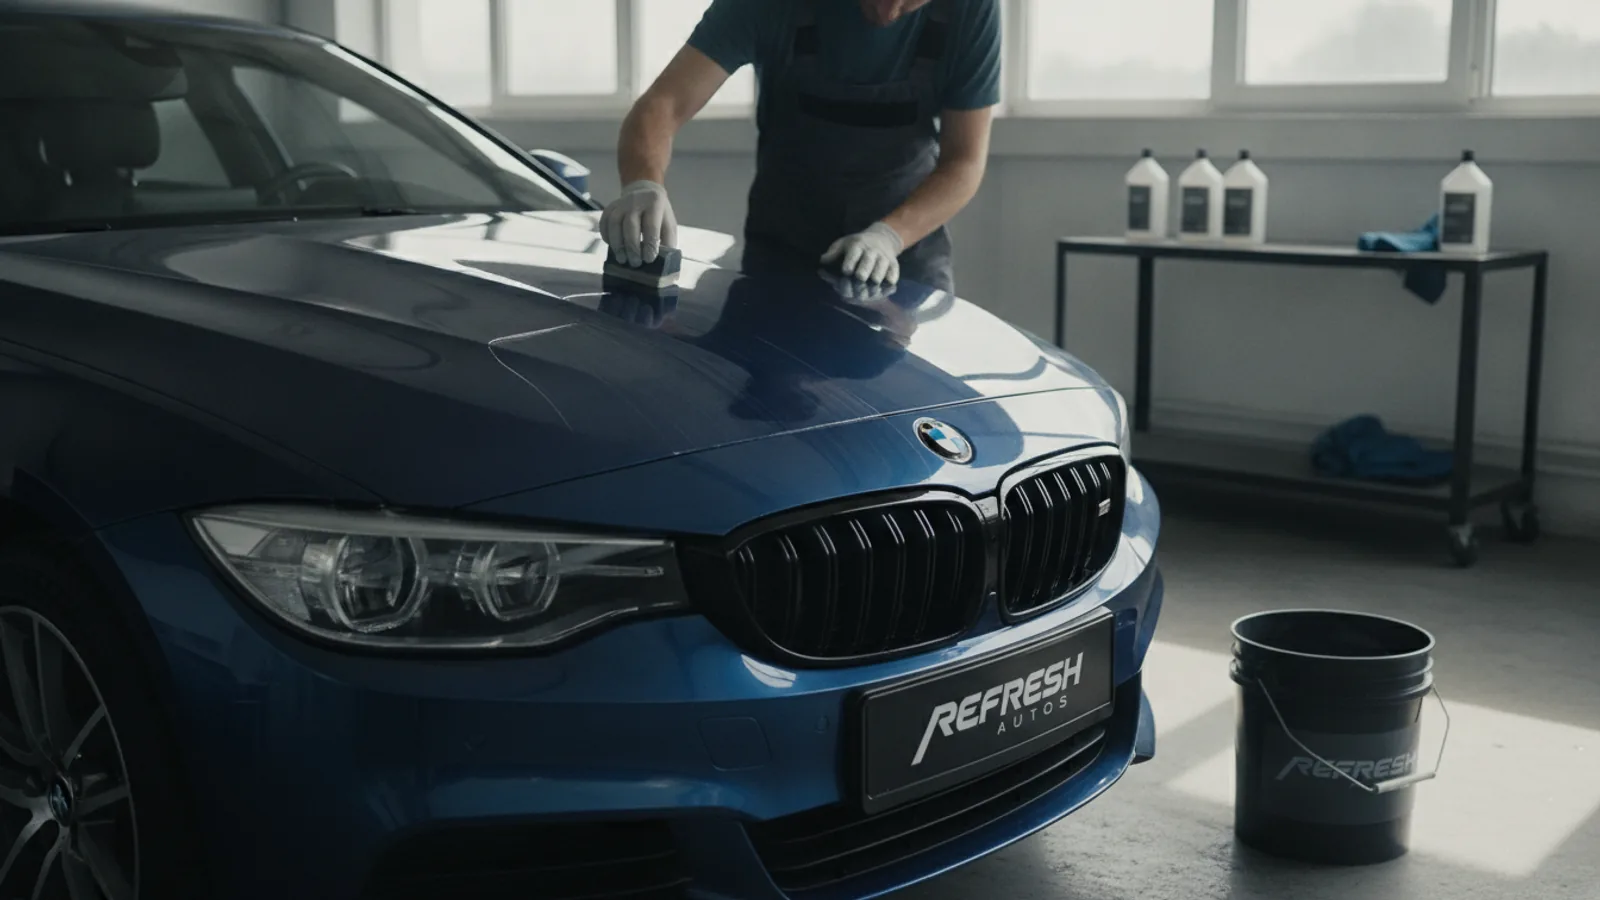
Apply the product using a clean applicator pad, working in small 2x2 foot sections. Use a thin, even layer—follow the product's instructions for whether to apply in straight lines or circular motions. For liquids or pastes, a 'thin to win' approach is best: too much product is harder to buff off and may leave streaks. For spray products, mist the panel slightly and spread with the applicator. Do not apply to the entire car at once, as the product may dry and become difficult to remove. Work systematically from the roof down to the panels, ensuring full coverage. If the product dries beyond the recommended time, you'll need to reapply, as it will be tough to remove.
Let the Product Cure to a Haze
After applying to a section, let the product sit according to the manufacturer's instructions. It typically takes 5 to 15 minutes for the product to haze over. The surface should feel slightly dry and cloudy when you run a clean finger across it. This haze indicates that the solvents are evaporating and the protective polymers are bonding with the paint. Do not touch or wipe the surface during this period, as it can disrupt the curing process. If you're working on a large vehicle, you might need to apply to a few sections before returning to the first to check. This waiting step is critical for proper adhesion and ease of removal.
Buff the Haze to a Clear Shine
Use a clean, plush microfiber towel to gently buff off the haze, using a light circular motion. Turn the towel frequently to avoid rubbing the residue back into the paint. Continue until the entire section is clear and glossy. Inspect the surface under bright light to ensure there are no streaks or remaining product. If you see streaks, they may be due to excess product or inadequate buffing; buff again with a fresh towel. After buffing, allow the protection to fully cure for the recommended time (often up to 24 hours) before exposing the car to rain or washing. This step reveals the final shine and ensures the protection is even and uniform.
Quick Reference
| Situation | Action | Why it helps |
|---|---|---|
| Feeling rough spots after a shampoo wash. | Use a clay bar with lubricant to decontaminate the paint, working in small sections until smooth. | Removes embedded contaminants that washing alone can't eliminate, ensuring proper bonding of protection. |
| Protection product dries too quickly or leaves streaks. | Reduce application area size and work in cooler, shaded conditions. Mist panel lightly with water or use a quick detailer to aid. | Prevents premature drying, allowing even spreading and easier buffing, which avoids streaks and residue. |
| You park under trees and get frequent bird droppings or sap. | Apply a synthetic sealant or ceramic coating, and consider using a quick detailer as a sacrificial layer after washes. | These products provide stronger chemical resistance and easier cleaning, increasing protection against harsh environmental deposits. |
Common Issues
- White residue is left in crevices or trim after buffing.: Use a detailing brush or cotton swab dipped in isopropyl alcohol to gently remove residue. Then apply a trim dressing to restore appearance.
- Water beads are uneven, indicating patchy protection.: Reapply protection to the affected areas after ensuring the surface is clean and dry. Use a thin, even layer and buff thoroughly.
- Protection seems to wear off quickly (within weeks).: Check if the surface was fully decontaminated and dried before application. Reapply protection following the manufacturer's instructions, and consider a more durable product like a sealant.
Advanced Tips
- Layer your protection by applying a sealant first, then topping with a wax for enhanced gloss and durability.
- Use a paint thickness gauge to measure clear coat depth, ensuring you have enough surface to protect before proceeding with aggressive polishing.
- Consider using a spray-on coating for maintenance after washes to boost hydrophobicity and add a layer of protection between full applications.
Final Checklist
- Confirm the vehicle is parked in a shaded, cool area before starting.
- Have all necessary supplies at hand: car wash soap, microfiber towels, clay kit, lubricant, applicators, and chosen protection.
- Perform a two-bucket wash, clay decontamination, and thoroughly dry the car.
- Apply your chosen protection in small sections, let it haze, and buff to a clear shine. Follow all manufacturer instructions for curing time.
FAQ
How often should I apply paint protection to my daily driver?
The frequency depends on the product you use. Car wax typically lasts 1 to 3 months, while sealants can last up to 6 months. Ceramic coatings can last several years. Inspect the beading of water on your hood after a wash: if water spreads out instead of beading, it's time to reapply.
Can I apply paint protection immediately after a wash?
You should only apply protection after the car is completely dry and free of contaminants. Washing alone might not remove all bonded dirt, so a clay bar treatment is recommended. Ensure no water or soap residue remains, as it can interfere with bonding.
Is it necessary to use a clay bar before applying protection?
Yes, especially for a daily driver that has been on the road for a while. Claying removes embedded iron particles, brake dust, and tree sap that washing leaves behind. This creates a smooth surface that allows the protection to bond evenly and last longer.