How To Inspect Exterior Trim After Frequent Summer Washes
A practical step-by-step guide to how to inspect exterior trim after frequent summer washes, including preparation, instructions, common issues, tips, and next steps.
How To Inspect Exterior Trim After Frequent Summer Washes
After frequent summer washes, exterior trim can develop soap residue, water spots, and fading if not inspected properly. This guide teaches you a thorough, step-by-step method to examine all exterior trim—including plastic, rubber, and metal—so you can catch damage early and keep your vehicle looking sharp. You'll learn what to look for, how to test for cleanliness and condition, and how to address common problems before they worsen. The guide covers preparation, a detailed inspection routine, quick reference for common situations, and advanced care tips, all written in clear, accessible language.
Fast Answer
- Inspect trim by running a clean finger over surfaces to feel for roughness, checking for white residue, and looking for fading or cracks.
- Use a soft cloth and mild soapy water to clean a small area first, then examine it under good lighting to see the true condition.
Before You Start
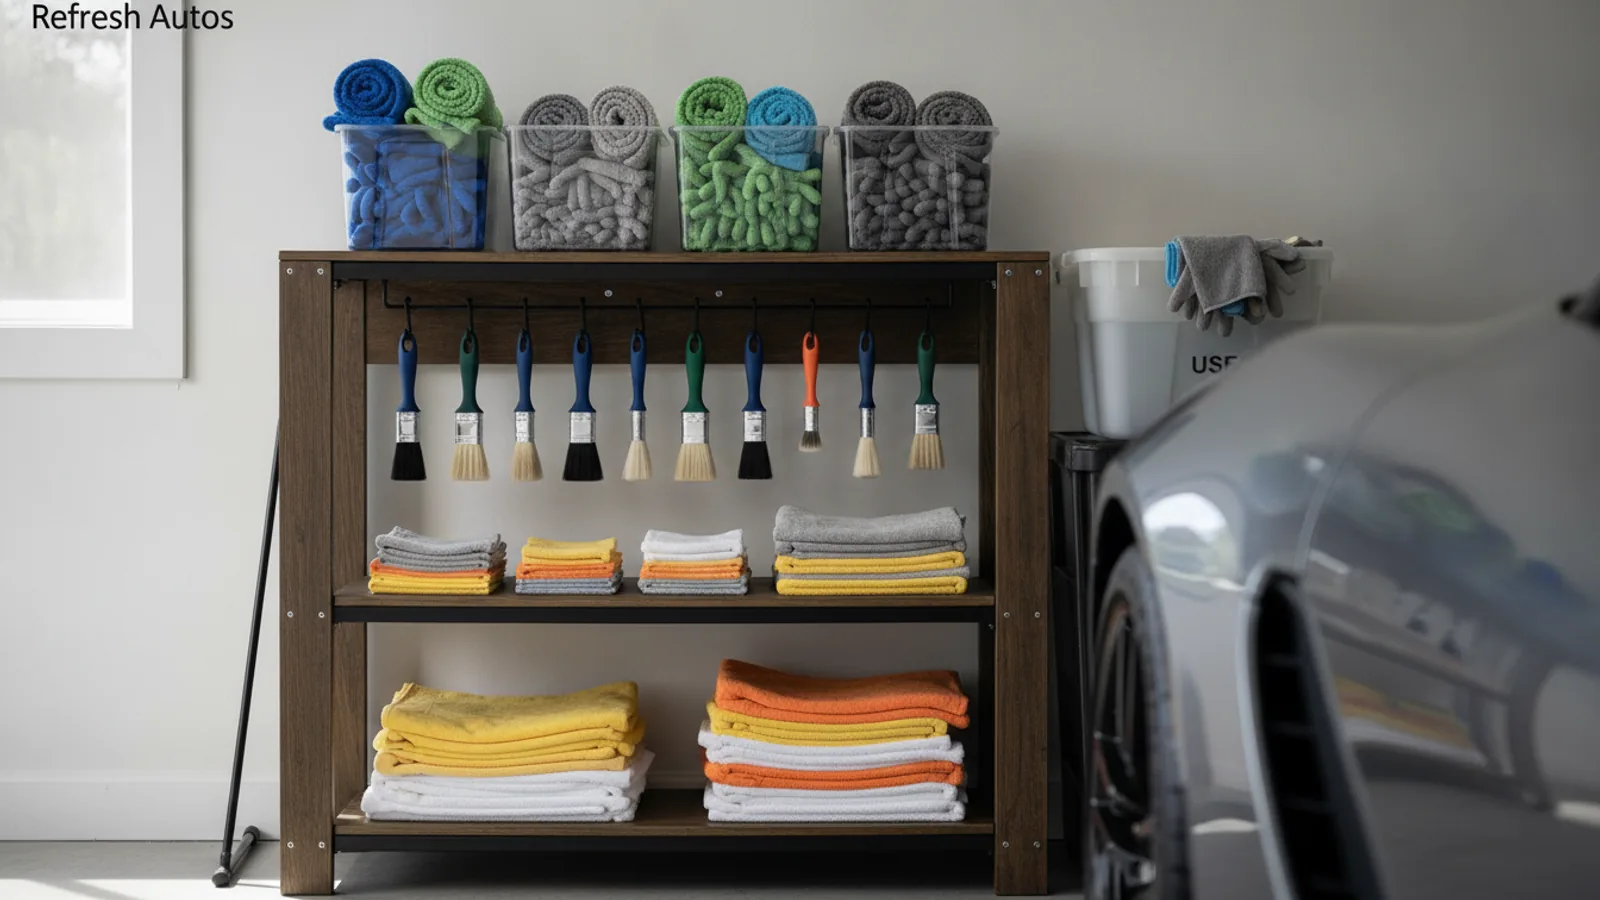
- Gather a bucket of warm water, mild car-wash soap, a soft sponge or microfiber cloth, and a separate towel for drying.
- Have a small brush (like an old toothbrush) to clean tight crevices and textured trim, and a bottle of water to rinse.
- Find a shaded area to work in, and ensure you have a flashlight to inspect dim areas like wheel wells and door jambs.
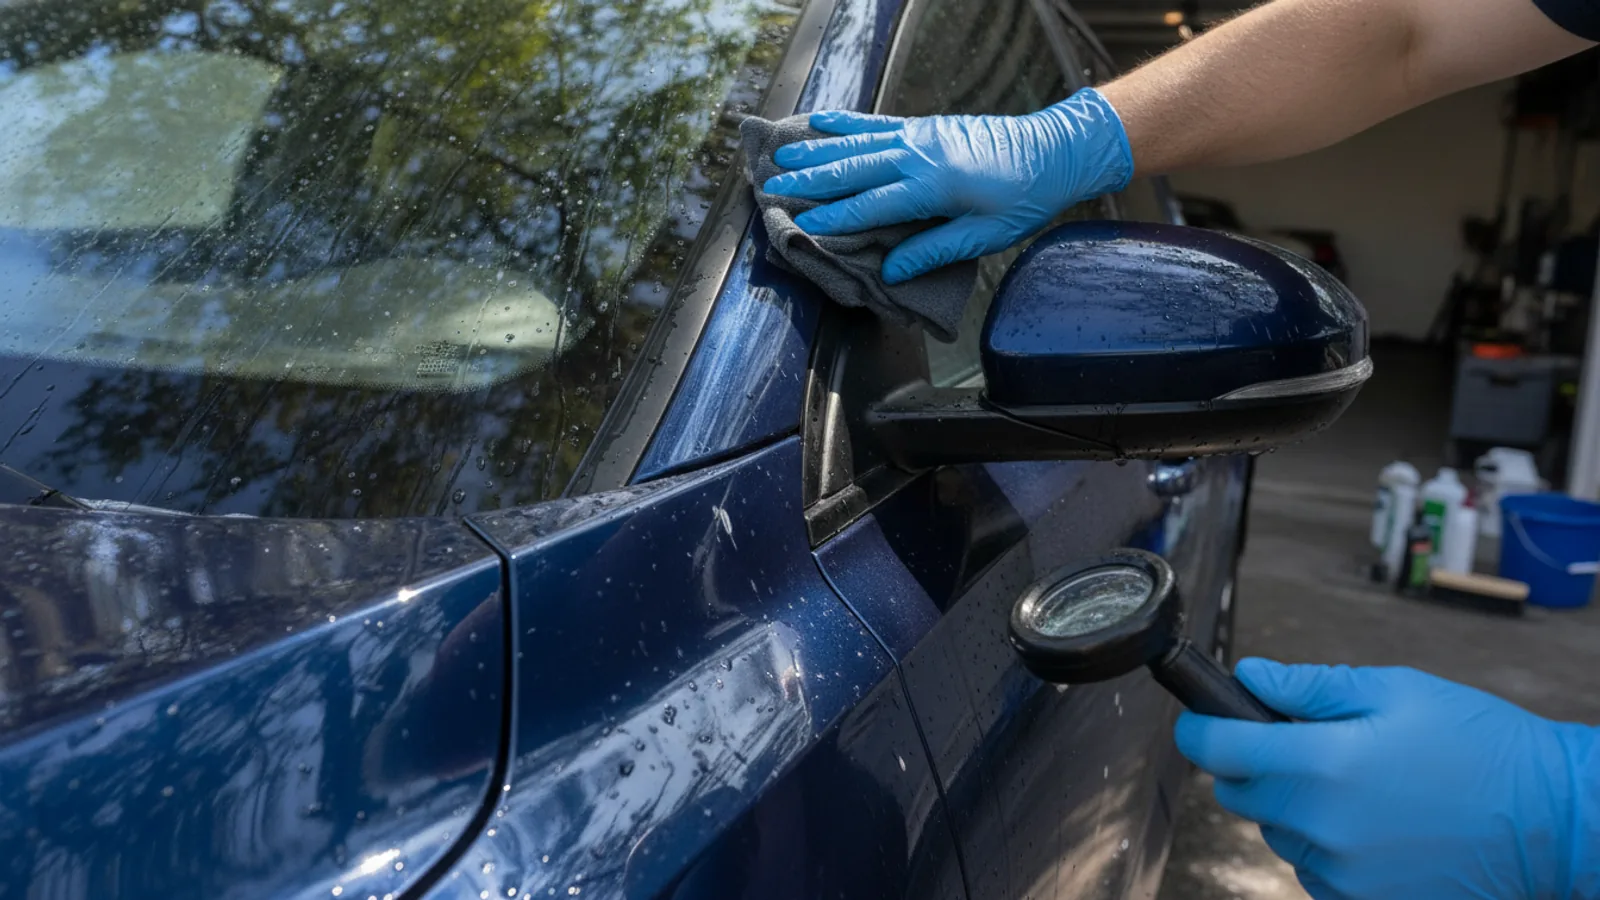
- Keep a magnifying glass or use your phone's camera zoom to look closely for hairline cracks or peeling.
Step-by-Step Instructions
Initial Visual Inspection from a Distance
Stand about three to four feet away from the vehicle and walk around it slowly, looking at all trim pieces—around windows, along the doors, on the bumpers, and near the windshield. The goal is to spot obvious problems like large cracks, missing pieces, or discoloration. Pay special attention to areas that get the most sun exposure, such as the top of the windshield trim and the roof rails. A quick check from a distance helps you create a mental map of where to focus your detailed inspection. This step is important because it catches glaring issues that could worsen if ignored, and it gives you a baseline for the overall look of the trim.
Clean a Test Section of Trim
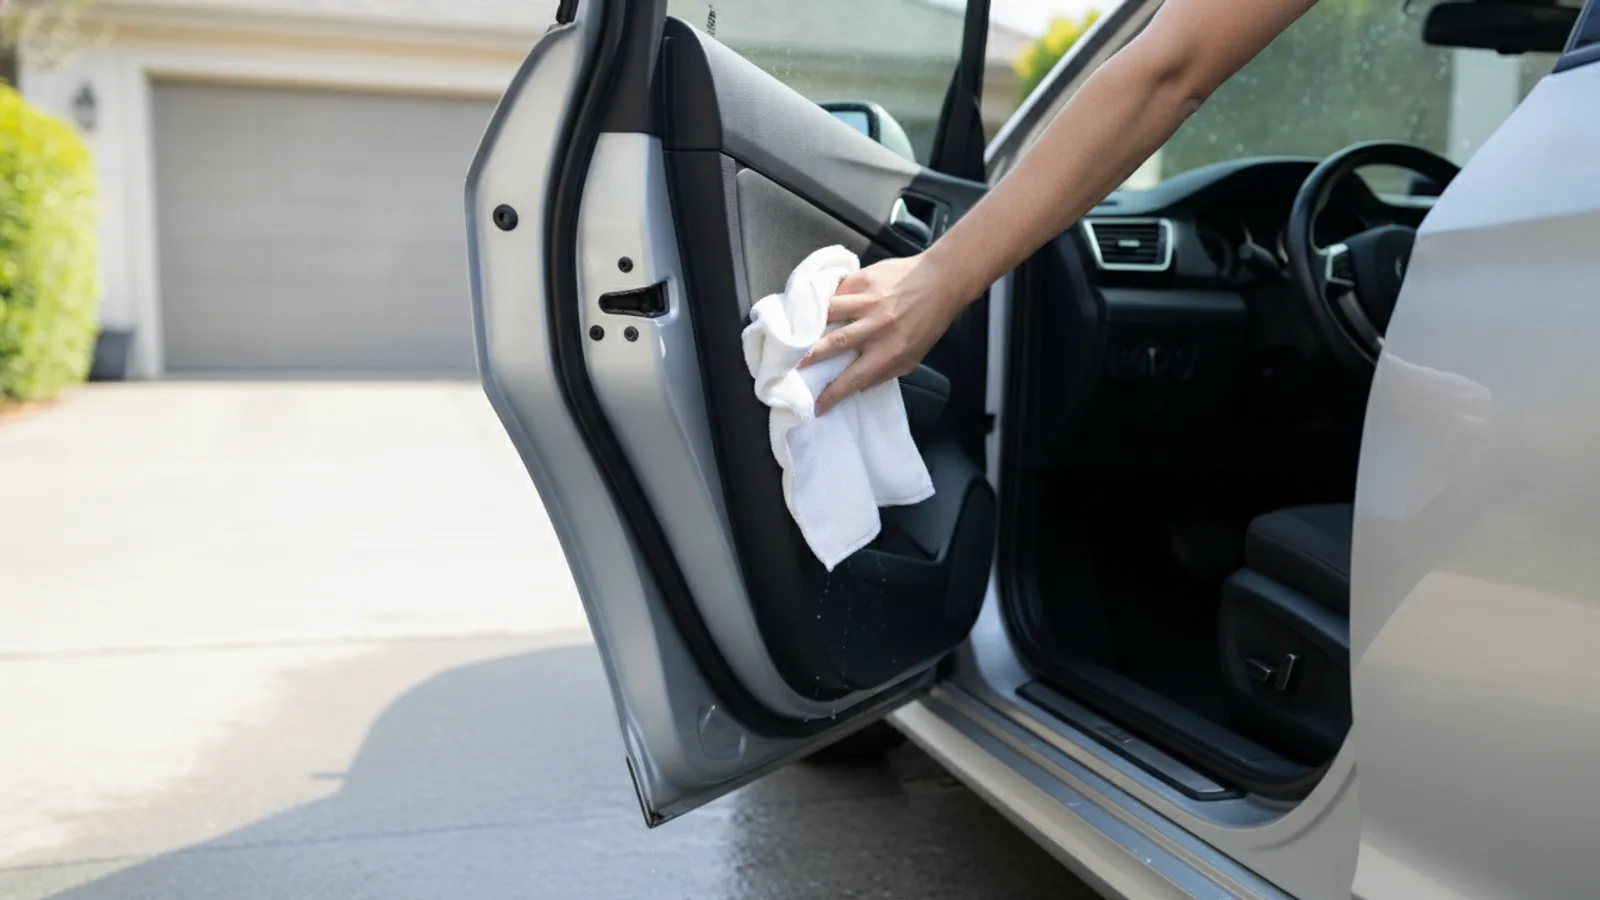
Choose a small, easily accessible section of trim, such as a strip along the driver's door or a piece of the front bumper. Wet a microfiber cloth in your soapy water, wring it out so it's damp but not dripping, and gently wipe the trim in a back-and-forth motion. Use a soft brush to work soap into textured areas. Rinse the cloth with plain water and wipe the section again to remove any soap residue. Dry it with a clean towel. This step establishes a clean baseline so you can see the true condition of the trim without dirt or old wax interfering. It also helps you distinguish between soap residue from previous washes and actual damage like scratches or etching.
Touch the Cleaned Trim to Check Surface Texture
After the cleaned section is dry, run your fingertips gently over the surface. You are feeling for smoothness, softness, and any irregularities. Healthy trim should feel relatively smooth and supple, not rough or brittle. If you feel a gritty texture, it could be embedded dirt or early signs of oxidation. If the trim feels hard and inflexible, that may indicate aging and potential cracking. Also, press lightly on the trim to see if it returns to its original shape. This tactile test is crucial because it reveals problems that aren't visible to the eye, such as beginning deterioration. Feeling the trim allows you to assess its pliability, which is a key indicator of its health after many washes.
Inspect Closely for Discoloration and Water Spots
Use a flashlight to examine the cleaned trim section under bright, direct light. Look for white or gray hazy spots, which could be soap residue that was not rinsed off, or oxidation from sun and chemical exposure. Also check for water spots—these appear as small, round, mineral deposits that dry into white rings. The difference is subtle: soap residue often has a streaky appearance, while water spots are more circular and spotty. If you see white haze, try wiping it with a damp cloth; if it comes off easily, it's residue. If it remains, it might be oxidation. This step is important because early removal of residue prevents permanent etching, and identifying oxidation early allows for treatment before it worsens.
Examine Seams and Edges for Loose or Lifting Trim
Run your fingers along the edges of the trim, especially where it meets painted metal or glass. Check for any lifting, curling, or gaps. Gently press down on the trim to see if it moves or separates. Also, inspect the seams between trim pieces—these can collect water and debris, leading to adhesive failure. Use a flashlight to look into the gap for dirt or moisture buildup. This step is vital because trim that is loose or lifting allows water to get behind it, which can cause rust or paint damage. Early detection means you can reattach it with proper adhesive before it becomes a bigger problem.
Check for Cracks, Peeling, and Fading
Finally, systematically inspect every trim piece for cracks, peeling, or fading. Use your flashlight and scrutinize corners, curves, and areas that flex. Cracks may appear as thin lines that catch the light. Peeling occurs on coated trim, like that with a painted or metallic finish. Fading is a gradual lightening of color, turning black plastic into a gray or chalky shade. To check for fading, compare the trim to a section that is usually shaded, like inside a door handle. This full examination is the most critical step because it identifies irreversible damage that requires replacement or professional restoration. Catching cracks early can prevent them from spreading.
Quick Reference
| Situation | Action | Why it helps |
|---|---|---|
| After cleaning, you see white streaks that appear only in certain patterns on the trim. | Dampen a microfiber cloth with plain water and wipe the streaks gently, then dry immediately with a second cloth. | This test tells you if the streaks are just soap residue, which will come off, or if they are stubborn oxidation, which won't. |
| The trim feels rough and gritty, like sandpaper, even after a clean and dry. | Use a dedicated plastic-safe trim cleaner and a soft brush to gently scrub the surface, then rinse with water. | Roughness indicates embedded contaminants or minor oxidation; gentle cleaning can smooth it and reveal the true surface condition. |
| You notice a small gap or lifting edge where the trim meets the door panel. | Clean the area with rubbing alcohol, dry it, and apply a small amount of exterior-grade trim adhesive, pressing firmly for 30 seconds. | Addressing a loose edge immediately prevents moisture from getting behind the trim and causing more severe damage. |
Common Issues
- White, chalky residue on black plastic trim that won't wipe off with water.: Apply a trim restore product containing a UV protectant, following the manufacturer's instructions, after thoroughly cleaning the area.
- Water spots that remain after a wash, leaving small white circles.: Use a solution of equal parts water and white vinegar, apply with a soft cloth, let sit for a minute, then rinse and dry.
- Trim appears faded, turning from black to gray, especially on the top surfaces.: Use a heat gun on low setting in a sweeping motion, keeping it moving, to bring oils to the surface; then apply a trim conditioner.
Advanced Tips
- After every wash, apply a water-based trim dressing that contains UV inhibitors, which helps maintain flexibility and prevents drying.
- Use a dedicated trim clay bar to remove embedded industrial fallout that normal washing leaves behind.
- Consider using a paint protection film on high-wear trim areas to avoid scratches and fading from repeated washing.
Final Checklist
- Walk around vehicle and visually inspect all trim for obvious damage or missing pieces.
- Clean a small test section and touch it to feel for smoothness and proper texture.
- Check under bright light for any discoloration, water spots, or cracks, especially at the edges.
- Document any issues you find and decide if they need a simple cleaning or professional attention.
FAQ
How often should I inspect my exterior trim?
At least once a month, and more frequently if you live in a hot, sunny climate or wash your car often. Frequent washing can accelerate trim aging, so a monthly check helps you spot early signs of damage.
Can I use WD-40 to clean or refresh trim?
It's not recommended. WD-40 is a solvent that can break down the protective coatings on your trim and attract more dirt. Use a dedicated automotive trim cleaner or a mild soapy water solution instead.
What is the best way to dry trim to prevent water spots?
Use a clean, soft microfiber towel and gently blot the trim dry after washing. Avoid rubbing, which can scratch the surface. If you can, dry the trim in the shade to reduce the chance of spots.