What To Check Before A Safe At Home Car Wash Routine
A practical step-by-step guide to what to check before a safe at-home car wash routine, including preparation, instructions, common issues, tips, and next steps.
What To Check Before A Safe At Home Car Wash Routine
Before you begin an at-home car wash, a few simple checks can prevent swirl marks, water spots, and damaged trim. This guide walks you through the key pre-wash steps, from choosing the right location to gathering safe tools and products. By taking a few minutes to inspect your car and supplies, you'll achieve a cleaner finish without costly mistakes.
Fast Answer
- Park in a shaded, level area away from direct sunlight to prevent soap and water from drying too quickly and leaving spots.
- Gather two buckets, pH-neutral car soap, microfiber mitts and towels, and a hose with a spray nozzle. Check that all supplies are clean and free of debris.
Before You Start
- Choose a shaded spot, such as a driveway with a porch overhang, or wash early in the morning or late in the afternoon. Avoid direct sun because heat makes soap and water evaporate quickly, leaving streaks and spots.
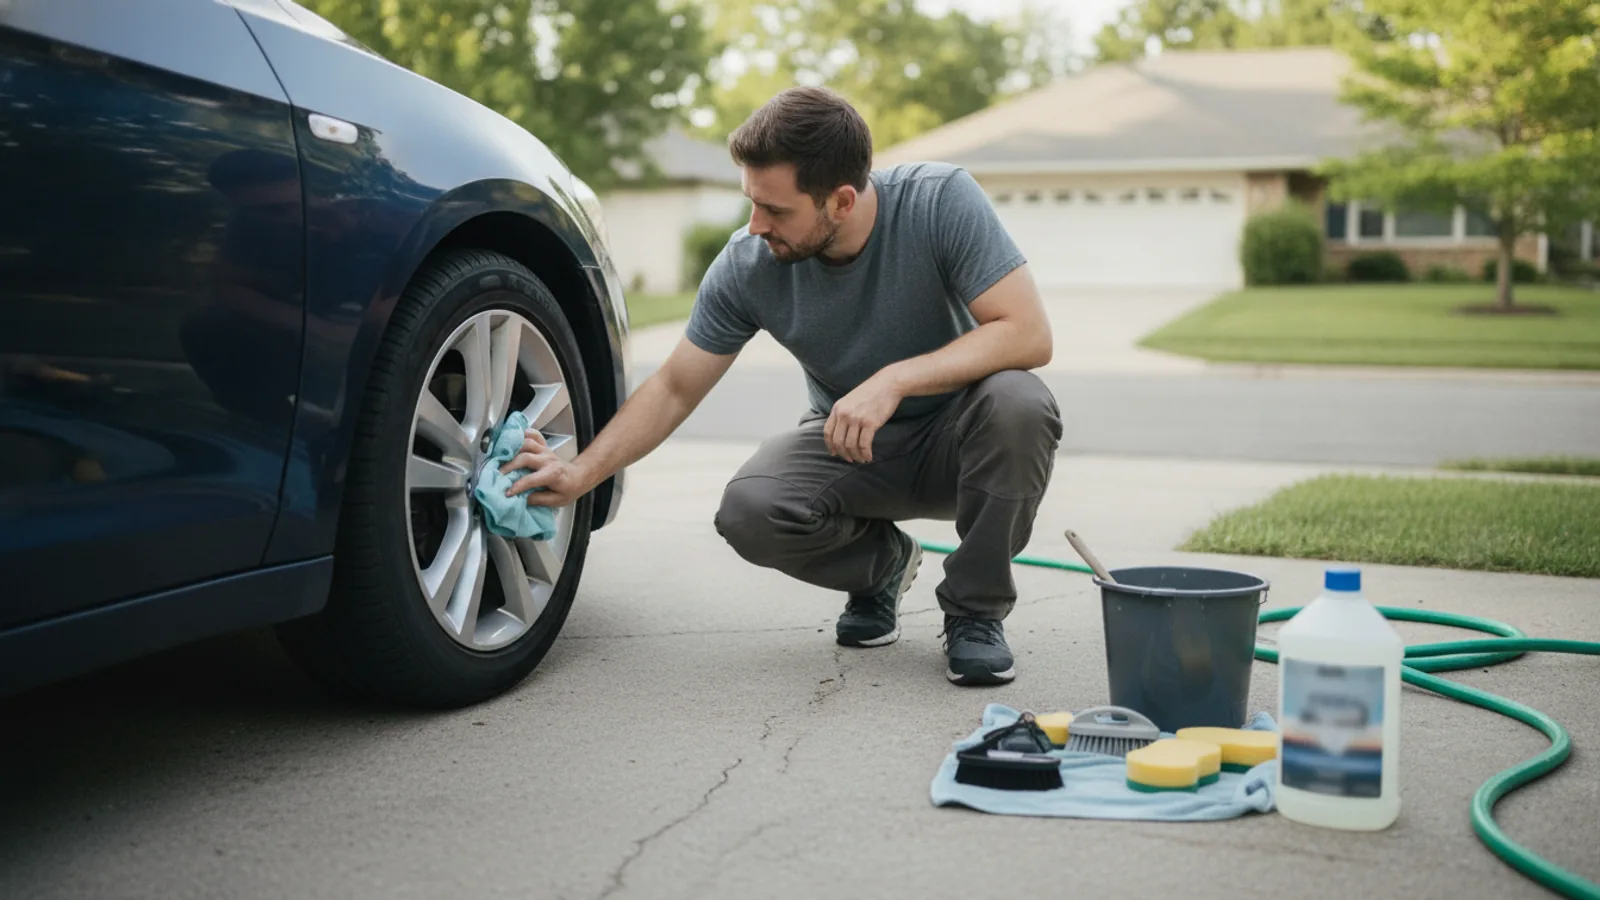
- Gather your washing supplies: two buckets (one for soapy water, one for rinsing), a pH-neutral car wash soap, a microfiber wash mitt, and several clean microfiber towels. Do not use dish soap or household cleaners.
- Check your water source and hose for kinks, leaks, or a missing spray nozzle. Ensure the hose reaches all sides of your car without straining. Attach a nozzle that lets you switch from a strong rinse to a gentle spray.
- Park on a flat, level surface and engage your parking brake. This prevents the car from rolling and ensures you can move safely around it. If you use a drive-on ramp, verify it is stable and rated for your vehicle weight.
Step-by-Step Instructions
Check Your Car's Surface for Loose Dirt and Grime
Before you start washing, take a moment to walk around your car and inspect the paint for loose dirt, bird droppings, tree sap, or bug splatter. These contaminants can be abrasive and, if you wash over them, they can scratch the paint. Use a spray-on pre-rinse to soften and remove loose debris. Pay special attention to the lower panels and wheels where grime accumulates. If you see tar or sap, treat those spots with a dedicated remover according to the product instructions. This initial check ensures that your wash mitt doesn't pick up debris that could create swirl marks. It also helps you identify areas that may need extra care during the wash. By doing this step, you save time and protect your paint from damage.
Set Up Your Wash Stations and Check Water Temperature
Position your two buckets close to your car but not where you might accidentally kick them over. Fill one bucket with clean water and the other with a mixture of pH-neutral car shampoo and cool water. Check the temperature with your hand: it should feel cool, not warm or hot. Hot water can strip wax and damage the paint. Also, make sure your hose is attached and functioning properly. A spray nozzle with a gentle setting will help you control the water flow. The two-bucket method is essential because you'll rinse your mitt in the clean water before dipping it into the soapy water again. This keeps the soapy water free of grit. By setting up correctly, you prepare for an efficient wash that minimizes scratches.
Inspect Your Wash Mitts and Towels for Debris
Before you begin washing, inspect your microfiber mitts and towels for any embedded dirt, sand, or previous residue. Even a tiny grain of sand can cause microscopic scratches on your car's paint. Check the mitt's plush surface by feeling it with your fingers—if it feels rough, wash it first or use a different one. Also, look for any loose threads or worn areas that might shed lint. Microfiber towels should be lint-free and soft. If you have used them on the ground or wheels, they may be contaminated; set those aside for a different task. By ensuring your tools are clean, you prevent introducing new scratches during the wash. This inspection takes only a minute but is crucial for a safe wash.
Check Your Car's Trim and Seals for Gaps
Inspect the rubber seals around windows, doors, and the trunk for any cracks, gaps, or areas that might leak water. Also, check the trim around the windshield and the sunroof. If you notice any damaged seals, water can get into the interior during the wash. If the seals look intact, proceed, but avoid hitting them with a high-pressure spray directly. Also, check the condition of any exterior plastic trim. If it's faded or brittle, a dedicated trim restorer can help, but that's a separate step. This check prevents water intrusion and protects the interior. It also alerts you to potential issues that could lead to rust or mold over time. Always dry these seals after washing to keep them from staying wet for long periods.
Test Your Hose Nozzle and Adjust Water Pressure
Attach your hose nozzle and turn on the water, pointing away from the car. Adjust the pressure to a gentle, wide fan spray—this is ideal for rinsing and wetting the car. Avoid using a narrow, jet-like stream because it can force water into crevices and damage weather stripping. Test the spray on a small patch of the car, like the fender, to see how it feels. The goal is to loosen dirt without pushing it against the paint. A steady, consistent water flow is best. This test ensures you control the water effectively, making the wash safer. If you have a pressure washer, follow the manufacturer's instructions and use the lowest setting for washing, but a standard hose with a nozzle is sufficient.
Verify You Have All Necessary Supplies Within Reach
Before you start washing, collect everything you need: two buckets, car shampoo, wash mitt, wheel brush (if you plan to wash wheels), microfiber towels, and a separate drying towel or chamois. Place them within easy reach, but not on the ground where they might get dirty. Also, have a spray detailer or quick wax on hand for a final touch if desired. Ensure your shampoo is pH-neutral and designed for cars. A quick check of labels prevents accidental use of harsh chemicals. Also, confirm that you have enough water pressure from the hose. By organizing your supplies, you avoid leaving the car soapy for too long while you search for a towel, which can cause spotting. This preparation makes the whole wash smoother.
Quick Reference
| Situation | Action | Why it helps |
|---|---|---|
| You find bird droppings or tree sap on the paint before washing | Spray the area with a dedicated pre-cleaner or all-purpose cleaner rated for car paint, let it soak, then gently wipe with a microfiber cloth. | Pre-softening these substances prevents them from scratching the paint when you wipe. |
| The soapy water looks dirty or foamy but full of grit | Stop washing and refill both buckets with clean water and fresh soap solution, then continue. | Dirty soapy water can deposit grit on your mitt and scratch the paint, so a clean solution is essential. |
| You notice a small ding or area of chipped paint before washing | Avoid high-pressure water directly on the chip, and wash around it gently. After the wash, dry that area and touch up the paint with a matching product. | High pressure can lift a paint chip and expose metal, leading to rust. Gentle handling prevents further damage. |
Common Issues
- Water spots appear after washing in the sun: Move to a shaded area or wash early/late in the day. If spots persist, use a detailing spray or a mixture of water and vinegar (diluted) to gently wipe them away, then dry with a clean microfiber towel.
- Swirl marks are visible after washing: Use the two-bucket method and a clean, plush microfiber mitt. Work in straight lines from top to bottom. After washing, apply a polish designed to remove swirls, following product instructions.
- Dirt or grime remains in door jambs or mirrors: Use a separate soft brush or microfiber towel with diluted car shampoo to clean those areas. Rinse thoroughly and dry to prevent water dripping onto clean panels.
Advanced Tips
- Before washing, wipe the rubber seals around windows and doors with a silicone-based protectant to keep them flexible and prevent water intrusion.
- Use a dedicated wheel cleaner and a separate brush for tires and wheels, as brake dust can embed into a wash mitt and scratch paint.
- After drying, apply a spray wax or sealant while the paint is cool to make future washes easier and add a layer of protection.
Final Checklist
- Shaded, level parking spot chosen; car is cool to the touch.
- Two buckets, pH-neutral soap, microbiber mitts, and clean towels are within reach.
- Hose with adjustable nozzle tested; water pressure set to gentle spray.
- All windows closed, sunroof retracted, and trim/seals inspected for damage or gaps.
FAQ
How often should I wash my car at home?
A general guideline is to wash your car every two weeks, but you can adjust based on local pollen, bird activity, or road conditions. If you notice visible dirt, wash it soon to prevent buildup. Regular washing preserves your paint and makes maintenance easier.
Can I use dish soap to wash my car?
No, dish soap is formulated for dishes and is too harsh for car paint. It strips wax and can damage the clear coat. Always use a pH-neutral car shampoo that is gentle and designed to preserve your paint's protection.
Do I need to dry my car after washing?
Yes, air drying can leave water spots, especially in hard-water areas. Use a clean, soft microfiber drying towel or a silicone squeegee to gently dry the surface. This prevents mineral deposits and gives a cleaner finish.