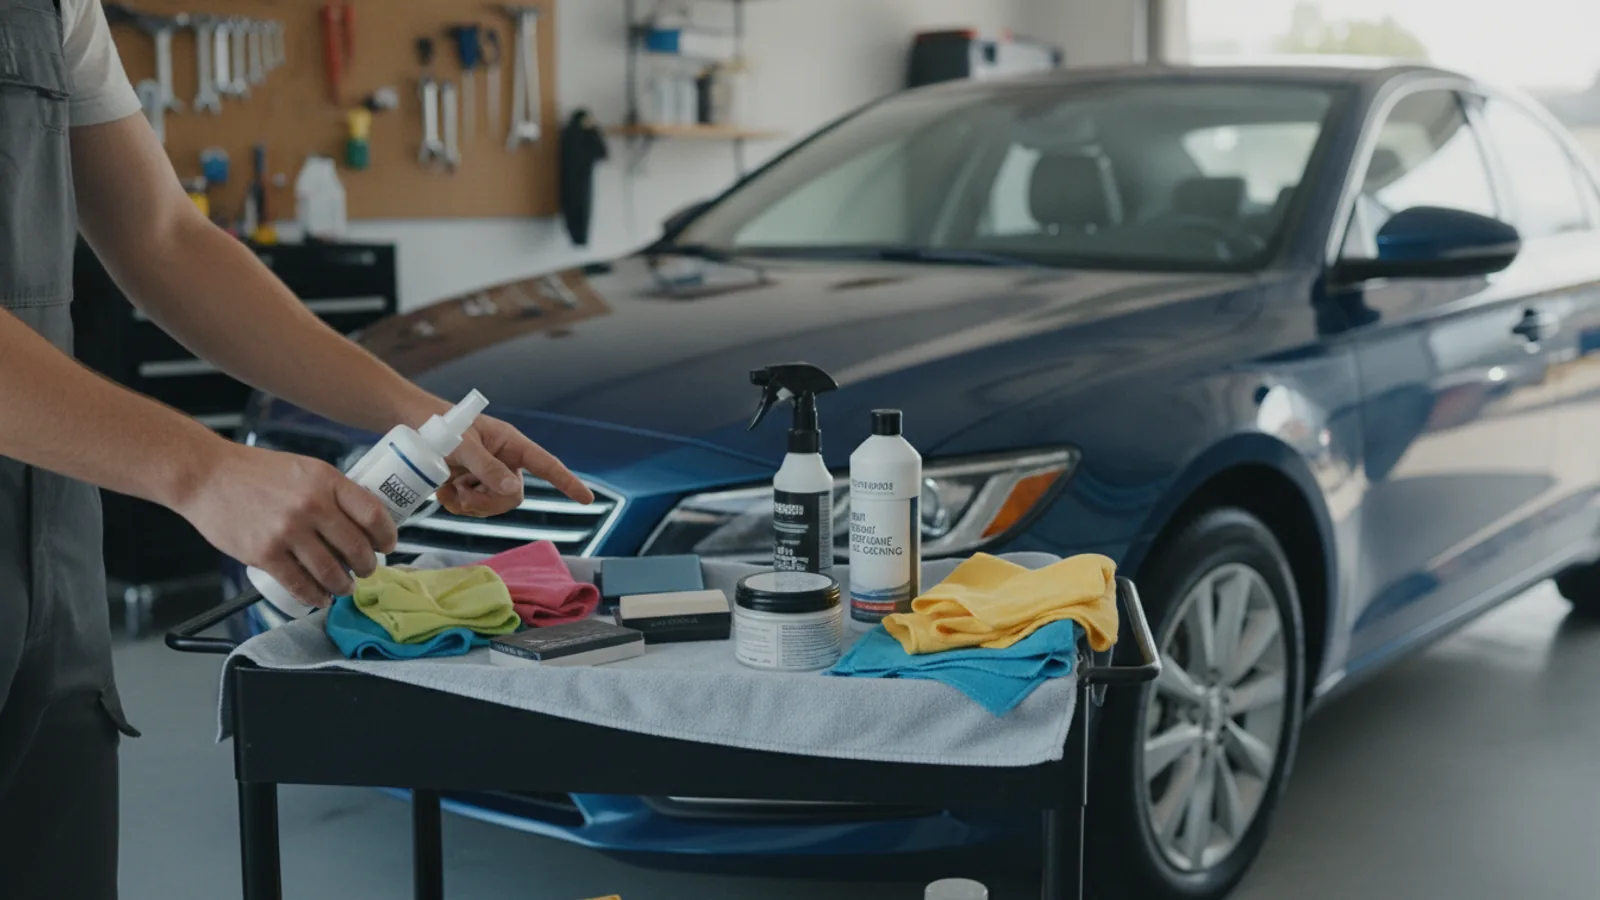
How To Plan A Compact Garage Kit For Regular Car Maintenance
A practical step-by-step guide to how to plan a compact garage kit for regular car maintenance, including preparation, instructions, common issues, tips, and next steps.
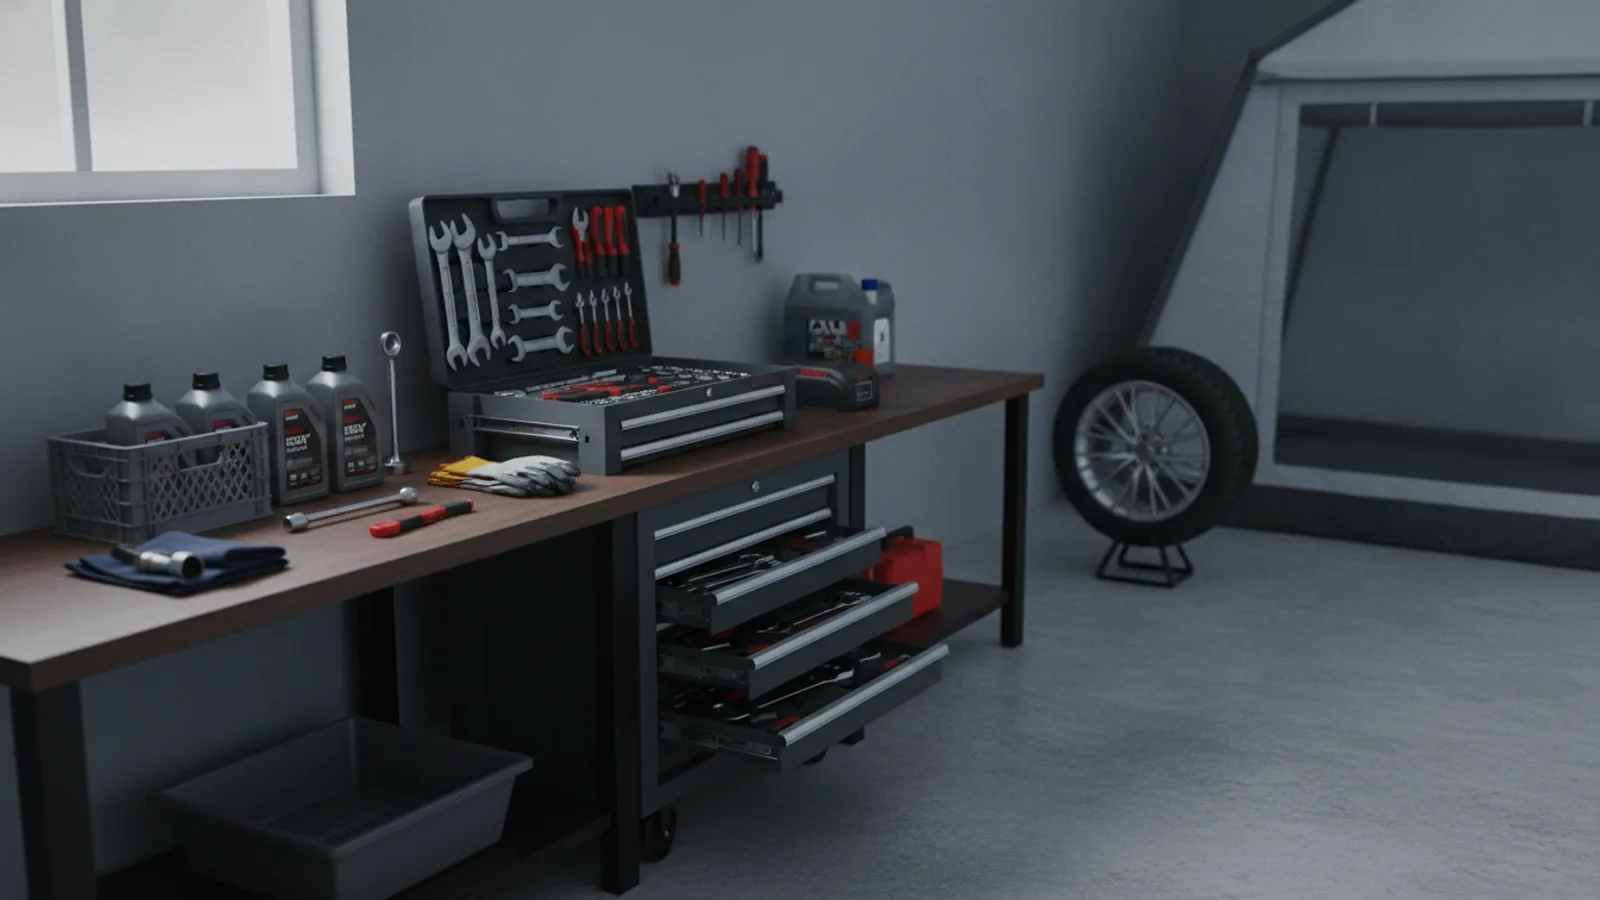
How To Plan A Compact Garage Kit For Regular Car Maintenance
This guide provides a practical, step-by-step approach to planning a compact garage kit for routine car maintenance. It covers essential items for oil changes, tire care, fluid checks, and basic inspections, while emphasizing organization, safety, and efficiency. You will learn how to assess your needs, allocate space, and maintain your kit so it remains ready for regular use. The guide is designed for home mechanics who want a streamlined setup without excessive clutter, helping you complete common tasks quickly and safely. By following these steps, you can create a maintenance kit that fits your garage and keeps your vehicle in good condition.
Fast Answer
- To plan a compact garage kit for regular car maintenance, start by listing the tasks you perform most often, such as oil changes, filter replacements, fluid top-ups, and tire checks. Then choose tools and supplies that serve multiple purposes, like a socket set with common sizes, a funnel, and a fluid catch pan.
- Allocate a dedicated storage area, like a wall cabinet or rolling cart, and organize items by function. Group tools for oil changes together, keep rags and gloves in a separate bin, and store fluids on a low shelf to reduce spills. Label containers and create a checklist to track inventory.
Before You Start
- Take an inventory of your current vehicle's maintenance requirements by reviewing the owner's manual for recommended service intervals and the specific tools needed for tasks like oil changes, air filter replacement, and tire rotation.
- Measure your available garage space, including floor area, wall space, and any existing shelving or cabinets, to determine the maximum size for your kit and whether a portable cart or fixed cabinet is more suitable.
- List the essential consumables and fluids you routinely use, such as engine oil (correct viscosity), coolant, brake fluid, windshield washer fluid, and oil filters, but check your manual for exact specifications.
- Decide on a budget for initial setup and ongoing restocking, remembering that quality tools and proper storage containers are a worthwhile investment to avoid frequent replacements.
Step-by-Step Instructions
Assess Your Regular Maintenance Needs
Begin by reviewing your vehicle's owner's manual to identify the tasks you are likely to perform at home. Common tasks include oil and filter changes, checking and topping off fluids like coolant and windshield washer fluid, inspecting and inflating tires, and replacing cabin or engine air filters. Note the recommended service intervals for each task and the exact specifications for fluids and parts, such as oil viscosity and filter part numbers. Also consider your driving habits and environment; if you drive on dusty roads, you may need to replace air filters more frequently. Make a checklist of these tasks and the tools each requires. This assessment is critical because it ensures that your kit contains only what you actually use, preventing wasted space and avoiding the frustration of missing items during a maintenance session. By focusing on your specific needs, you can keep your kit compact and efficient.
Select Multi-Purpose Tools and Equipment
Choose tools that can handle multiple jobs to reduce the number of items in your kit. For example, a socket set with both metric and standard sizes, a ratchet with an extension, and a set of combination wrenches will cover most fasteners. A torque wrench is essential for properly tightening lug nuts and other critical bolts, but you can use it for several purposes. Invest in a sturdy floor jack and a pair of jack stands for safe elevation. A compact collapsible funnel and a fluid catch basin are useful for oil changes and other fluid tasks. Also include a versatile multi-bit screwdriver, pliers, and a utility knife. For tire care, a portable air compressor and a tire pressure gauge are necessary. By selecting tools that serve multiple functions, you can keep your kit small while still being prepared for a wide range of maintenance tasks.
Determine Storage and Organization System
Decide where your kit will live: a wall-mounted pegboard, a rolling tool cart, or a large plastic storage bin. Measure the space you have and choose a system that keeps everything accessible but out of the way. For a compact garage, a rolling cart is ideal because it can be moved near the car and tucked away when not in use. Use clear bins or labeled compartments to group items by function. For example, place oil change supplies (funnel, catch basin, oil filter wrench, and plastic gloves) in one bin. Keep rags and disposable towels in a separate bin. Store fluids on a low shelf in a sturdy tray to catch drips and prevent spills. Hang larger tools like the torque wrench and jack handles on hooks. Label every shelf and bin clearly. This organization step is crucial because a well-organized space reduces the risk of losing small parts and speeds up maintenance tasks.
Stock Essential Fluids and Consumables
Assemble the fluids and disposable items you will need for routine maintenance. Check your owner's manual for the correct engine oil viscosity and capacity, and keep one or two liters on hand. Also include DOT-approved brake fluid (verify the type), coolant that matches your vehicle's specification, power steering fluid if applicable, and windshield washer fluid. For filters, purchase a spare oil filter correct for your engine, an engine air filter, and a cabin air filter if you plan to replace them. Add items like shop towels, nitrile gloves, a funnel, and a drain pan. Store fluids upright in a dedicated plastic tray to catch spills and write the date of purchase on each container. Rotate stock to use older fluids first. This step matters because having the right consumables on hand prevents multiple trips to the store and ensures you can complete a task in one session.
Choose a Portable Work Surface and Lighting
Incorporate a compact work surface to use for small tasks, such as a foldable workbench or a sturdy utility table that can be stored flat against a wall. This surface provides a clean area for assembling parts or setting out tools. Good lighting is essential; add a rechargeable LED work light that can be clipped to the hood or placed underneath the car. A headlamp is also handy for hands-free illumination. Consider a magnetic parts tray to hold screws and small parts while you work. When selecting a work surface, make sure it can support the weight of tools and parts without tipping. This step improves safety and efficiency by giving you a dedicated place to organize your work, reducing the risk of losing parts or straining your eyes.
Set Up a Maintenance Log and Checklist
Create a simple log to track what maintenance tasks you have performed and when. You can use a notebook, a spreadsheet, or a printed form that you store in your kit. For each task, record the date, the mileage, the parts and fluids used, and any notes about oddities. Also create a pre-service checklist that you can review before starting any job, listing steps such as parking on level ground, setting the parking brake, and chocking the wheels. Include a list of tools and supplies that should be in the kit, and mark off items as you use them. This ensures you restock promptly. This step is essential because keeping a log helps you anticipate future needs and spot patterns in your car's behavior, reinforcing the value of regular maintenance.
Quick Reference
| Situation | Action | Why it helps |
|---|---|---|
| You need to change the engine oil and filter but your kit is missing an oil filter wrench | Check the owner's manual for the correct filter size, then use a strap wrench or a universal oil filter wrench that fits different diameters. If none fits, purchase a filter wrench that matches your filter's specification before starting the job. | Using the wrong wrench can damage the filter or leave it too loose, causing leaks and potential engine damage. A proper fit guarantees a secure seal and safe removal. |
| Your coolant level is low but you are unsure which type of coolant your car uses | Immediately reference the owner's manual to find the specified coolant type, then check the coolant reservoir and the radiator for any identification labels or colored coolant residue. If unclear, do not mix fluids; consult a professional or your dealer's parts department. | Using the wrong coolant can cause corrosion, blockages, or severe engine overheating. Mixing incompatible coolants may cause chemical reactions that ruin the cooling system. |
| You are about to work under the car and need to ensure it is safely supported | After using a floor jack to lift the car, always place a pair of jack stands under the designated jacking points before getting underneath. Give the car a slight shake to verify stability, then lower the jack so the car rests on the stands. | A jack can fail or slip without warning; jack stands provide a stable base that prevents the car from falling, which is a critical safety measure. |
Common Issues
- Kit becomes cluttered because small parts and tools mix together: Use small parts trays, magnetic dishes, or compartmentalized organizers. Label each container and return every tool to its designated spot after use. Schedule a weekly 10-minute clean-out to reorganize.
- Fluid bottles leak or spill because they are stored on their side: Store all fluids upright in a plastic tray with raised edges, and place the tray on a low shelf. Ensure caps are tight and consider using funnels with built-in spouts for pouring. Wipe spills immediately to prevent stains and slips.
- You often forget to restock consumables like gloves and paper towels after a maintenance session: Create a restock checklist that you review after every task. Keep an extra stash of gloves and towels in a separate bin, and mark when you use the last one. Additionally, add a note to your phone calendar to order supplies monthly.
Advanced Tips
- Instead of buying a full socket set, purchase only the sockets you need for your car's common fasteners, plus a ratchet and extension, to save space and money.
- Use color-coded labels on your tool handles and containers to quickly identify which tools belong to which maintenance function, reducing time spent searching.
- Invest in a rechargeable air compressor that can also serve as a portable power source for your work light, reducing the number of batteries and cables in your kit.
Final Checklist
- Verify that your kit includes all essential tools listed in your maintenance schedule, such as a torque wrench, oil filter wrench, and jack stands.
- Confirm that all fluid containers are upright, sealed, and labeled with the correct type and date of purchase.
- Designate a specific location for each item in your kit and practice putting tools back after each use to maintain organization.
- Set a recurring monthly reminder to check your kit's inventory, restock any items used, and update your maintenance log.
FAQ
How often should I replenish my garage maintenance kit?
It depends on how frequently you perform maintenance tasks. After each oil change, check your stock of oil, filters, and gloves. For other items like brake fluid or coolant, inspect levels every few months, especially before long trips. As a general rule, review your kit inventory once a month and restock anything that is below a quarter full. Also, replace any fluids that have passed their expiration dates shown on the bottle.
Can I use a plastic storage bin to hold heavy tools?
Yes, but choose a high-quality, durable bin with reinforced handles and a sturdy base. Avoid overloading it, as heavy tools can crack the plastic. Better yet, use a rolling tool cart or a dedicated cabinet that can bear more weight. If you use a bin, make sure it has a tight-fitting lid and consider using a dolly to move it around.
How do I keep my kit from taking up too much space?
Focus on multi-purpose tools and consumables that you use frequently. Eliminate duplicate tools and oversized equipment. Utilize vertical space by installing wall shelves or a pegboard. Store bulky items like the floor jack in a corner or on a high shelf. Review your kit every few months and remove anything you haven't used in a year.