How To Choose Paint Protection After Washing A Daily Driver
A practical step-by-step guide to how to choose paint protection after washing a daily driver, including preparation, instructions, common issues, tips, and next steps.
How To Choose Paint Protection After Washing A Daily Driver
After washing your daily driver, the next step is choosing a paint protection method that suits your driving habits, parking situation, and how much effort you want to invest. This guide walks you through the main options—wax, sealant, ceramic coating, and paint protection film—and helps you decide based on factors like time, durability, and the level of protection you need. You’ll learn how to prepare the paint, apply the product correctly, and maintain it for long-lasting shine and protection against the elements.
Fast Answer
- If you want a quick, budget-friendly option that adds gloss and basic protection, apply a spray sealant or quick wax after drying—these take about 15 minutes and last up to 3 months.
- For longer-lasting protection with minimal maintenance, consider a ceramic spray coating that can be applied annually and offers superior chemical and UV resistance.
Before You Start
- Park your car in a shaded, dust-free area to prevent premature drying and contamination.
- Ensure the paint is completely clean and dry after washing—any leftover dirt or water spots can interfere with product bonding.
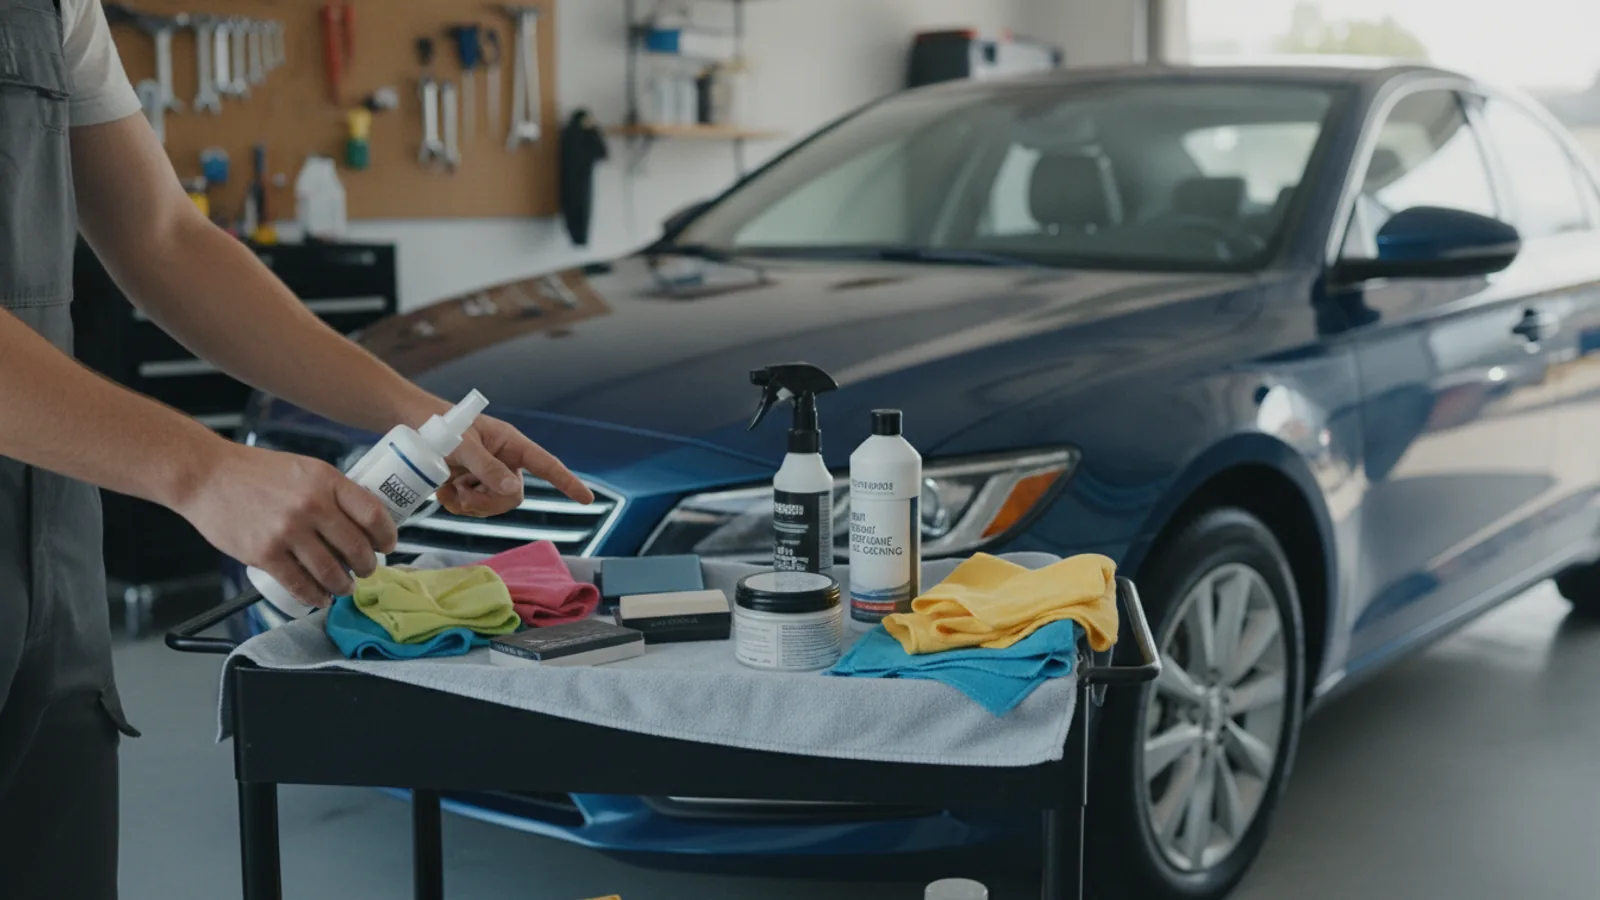
- Gather all necessary application materials, including microfiber towels, applicator pads, and the chosen protection product.
- Check the weather forecast: avoid applying protection if rain is expected within 24 hours, as moisture can wash away the product.
Step-by-Step Instructions
Assess Your Needs and Environment
Take a moment to evaluate how you use your car and where you park. Do you park outdoors overnight, or is it kept in a garage? Do you take frequent road trips that expose the paint to bugs, tar, and minor impacts? If your car sits under trees or near a busy road, it will face bird droppings, tree sap, and airborne pollutants. These factors heavily influence whether you need a simple wax for three months of protection or a robust ceramic coating that lasts years. Also, think about the time you’re willing to spend each month on maintenance—some products need periodic top-ups, while others are mostly hands-off after initial application. Write down your priorities: gloss, durability, cost, or ease of use. Having a clear picture of your driving and parking habits helps you filter the options without feeling overwhelmed.
Choose Between Wax, Sealant, or Ceramic
Now that you know your needs, compare the three main categories of paint protection. Natural carnauba wax is beloved for its warm, deep gloss and ease of application, but it typically lasts only 1–3 months before fading. Synthetic sealants offer longer durability, often 6–12 months, and provide superior chemical resistance, but they can look slightly less rich than wax. Ceramic coatings bond chemically to your paint and can last several years, offering excellent UV and acid protection, but they are more expensive and require meticulous surface prep—often including polishing—before application. As a novice, you might start with a spray sealant, which is a hybrid that combines ease of spray-on application with the durability of a synthetic sealant. Consider your budget and time; you can always layer a wax over a sealant to get both durability and gloss. This decision narrows your product search.
Prepare the Paint Surface Properly
A clean, smooth surface is non-negotiable for any protection to bond and look its best. Start by washing your car using the two-bucket method to minimize swirl marks. After washing, use a clay bar or a synthetic clay mitt to remove bonded contaminants like brake dust, hard water spots, and industrial fallout that ordinary washing can’t eliminate. You’ll know the paint is clean when your fingers glides over it without feeling grit. Dry the car thoroughly using a clean, plush microfiber towel or a blower to prevent water spots. If you notice any scratches or swirl marks, consider a light polish before applying protection—otherwise, the protection will lock in those imperfections. This prep step is often the most important, as a neglected surface causes premature failure and a patchy appearance.
Apply the Protection in a Controlled Area
Choose a workspace that is clean, shaded, and free from wind and dust. If you’re using a spray sealant or ceramic coating, work in small 2-foot by 2-foot sections to ensure even coverage and proper curing time. For example, if you apply the product to the hood, spray it on a panel and spread it with a soft applicator pad using cross-hatch strokes—first vertical, then horizontal. Let the product haze over as per the manufacturer’s instructions (this can range from a few minutes to a longer time for ceramic). Once it flashes, buff it off with a clean, dry microfiber towel using light pressure. Do not let the product dry completely, or you’ll have streak marks that are hard to remove. Work on one panel at a time, moving from the top of the car downward to prevent dripping onto already-finished areas.
Allow Proper Curing Time
After you’ve applied the protection to all panels, allow it to cure according to the product’s instructions. This curing process is when the product forms a durable bond with your paint. For waxes, this may be immediate, but for sealants and ceramic coatings, it can take up to 24 hours or longer. During this period, keep the car away from rain, heavy dew, or any physical contact like brushing against wet clothing or plants. If you have a garage, park inside; otherwise, cover the car with a breathable car cover if it’s exposed to moisture. Avoid washing the car for at least 48 hours to let the coating fully harden. Testing the surface with a light drizzle can be tempting, but patience ensures maximum durability and resistance to contaminants.
Maintain and Reapply as Needed
The longevity of your protection depends on regular maintenance. For a weekly wash, use a pH-neutral car shampoo and a microfiber mitt to avoid stripping the protection. After each wash, you can use a spray detailer to boost gloss and add a temporary layer of protection between full applications. For wax, reapply every 2–3 months; for sealants, every 6–12 months; and for ceramic coatings, you may need a top-up spray every year. Watch for signs of depletion, such as water beading becoming less pronounced or a duller appearance. Also, remove bird droppings and tree sap promptly, as these can etch even ceramic coatings over time. Always dry the car thoroughly to prevent water spots, which can bond to the protection and break it down.
Quick Reference
| Situation | Action | Why it helps |
|---|---|---|
| Your car is parked outside overnight and you notice many water spots after rain. | Use a spray sealant with hydrophobics that cause water to bead and roll off, and always dry the car with a microfiber towel if it’s wet before storage. | This protection reduces water spot formation, and drying prevents minerals from bonding to the paint. |
| You live in an area with high tree sap and bird droppings, and you don’t wash the car every week. | Apply a ceramic coating that offers strong chemical resistance, and wipe off any droppings with a damp microfiber towel as soon as you notice them. | Ceramic coatings provide a harder surface that is more resistant to acid etching, and quick removal prevents permanent damage. |
| You have a few scratches and swirl marks that you want to hide before adding protection. | Use a cleaner wax or a polish before applying wax, but for deeper scratches, consider a full polish or professional correction. | Filling scratches with a cleaner wax hides them temporarily, but proper polishing removes imperfections for a cleaner surface. |
Common Issues
- Streaks appear after the protection has dried and been buffed.: Spray a little quick detailer onto a clean microfiber towel and gently wipe the streaky area to smooth it out. Reapply a thin coat if the streaks remain.
- Water beads less over time, even after a wash.: This indicates your protection is wearing thin. Use a detailing spray with hydrophobic properties to restore beading, or reapply a fresh layer of your chosen protection.
- Patchy or blotchy areas where the protection didn't stick.: This is usually caused by a contaminated surface. Wash and clay the affected area, then reapply the protection, ensuring the paint is clean and dry.
Advanced Tips
- Layering a wax over a newly applied sealant creates a wet-look gloss while still benefiting from the sealant’s durability; wait at least 24 hours between layers.
- For maximum longevity, apply a ceramic coating indoors under controlled lighting to avoid any dust or moisture settling on the surface during curing.
- Use a paint thickness gauge before heavy polishing to ensure you don’t remove too much clear coat, especially on softer paint finishes.
Final Checklist
- Car washed and dried completely to prevent water spots before protection.
- Paint clayed and inspected for any remaining roughness or blemishes.
- Product applied evenly in cool, shaded conditions and allowed to cure fully.
- Routine maintenance scheduled, including weekly washes and periodic reapplication as needed.
FAQ
Can I wash the car right after applying a new paint protection?
You should wait at least 48 hours before washing the car to allow the protection to fully cure. Washing too soon can strip the product before it has bonded to the paint. After that, you can wash normally using a gentle shampoo and a microfiber wash mitt.
What is the difference between a traditional wax and a spray sealant?
Traditional wax is made from natural ingredients and offers a warm, deep gloss but it dissolves after a few weeks. Spray sealants are synthetic and bond more strongly, offering longer-lasting protection—sometimes months—and better water beading. For most daily drivers, a spray sealant is a practical choice because it’s easy to apply and lasts longer.
Will paint protection make my car completely chip-proof?
No, paint protection can’t stop all chips from rocks or other debris. It provides a sacrificial layer that absorbs some impacts, but heavy impacts, like from a pebble at highway speed, can still chip the paint. For maximum impact protection, consider a clear paint protection film applied to vulnerable areas like the front bumper and hood.