How To Clean Dashboard Screens Without Haze Or Scratches
A practical step-by-step guide to how to clean dashboard screens without haze or scratches, including preparation, instructions, common issues, tips, and next steps.
How To Clean Dashboard Screens Without Haze Or Scratches
This guide explains how to clean dashboard screens safely and effectively, preventing haze and scratches. You'll learn the right supplies, a step-by-step method, and how to handle common issues like streaks and residue. Follow these techniques to keep your screen clear and damage-free.
Fast Answer
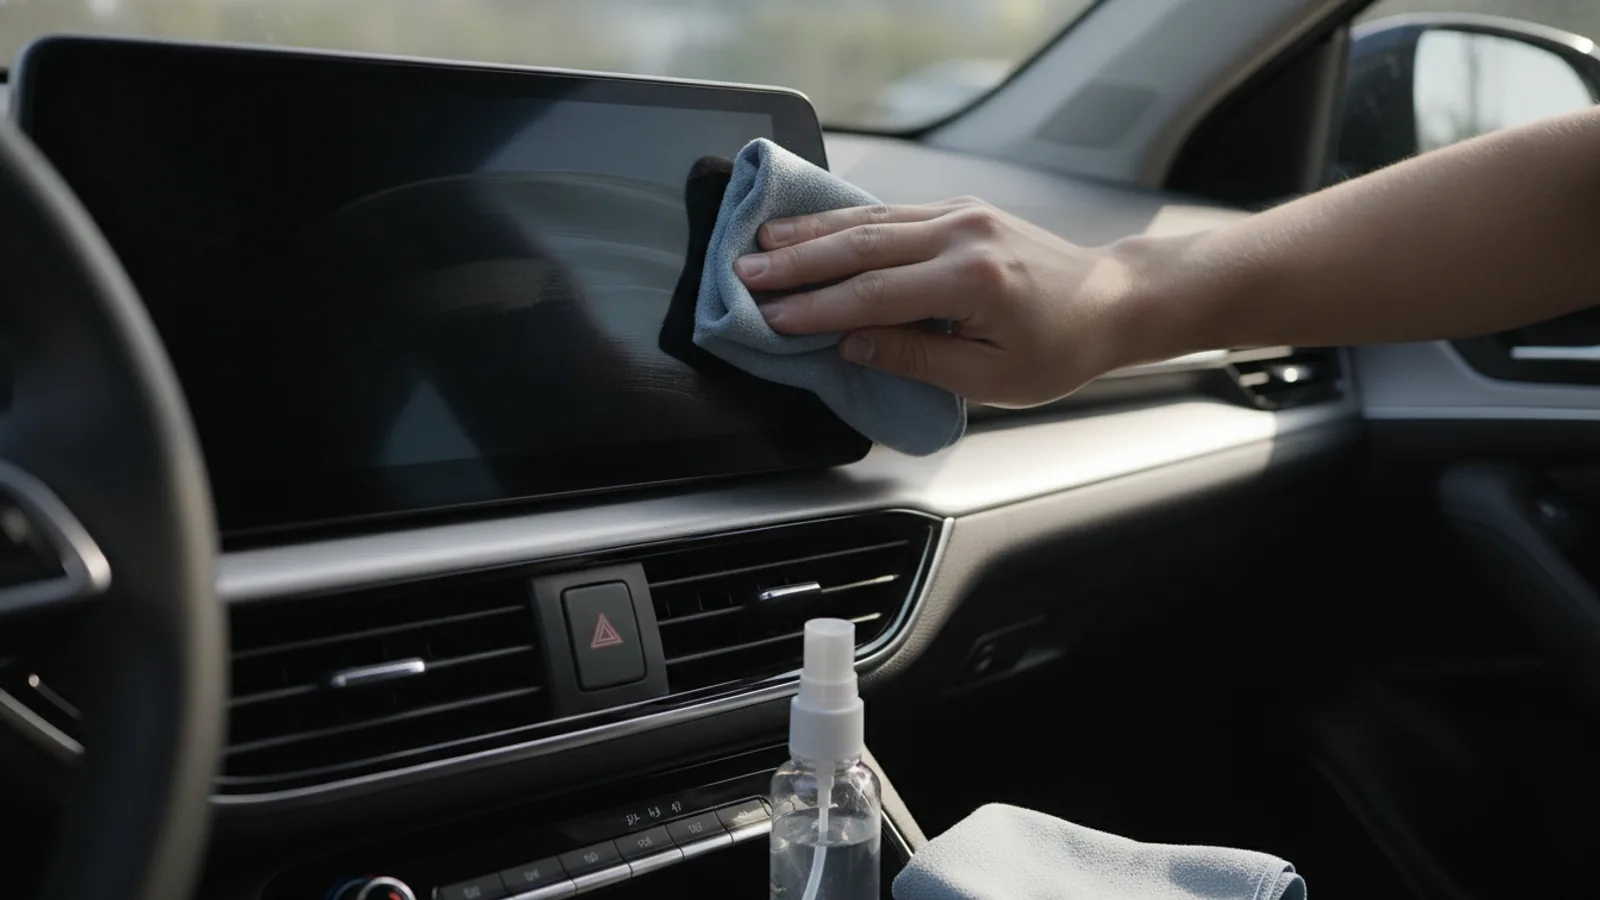
- Use a soft, dry microfiber cloth to gently wipe the screen in a circular motion, applying light pressure to remove dust and fingerprints without scratching.
- For stubborn smudges, lightly dampen a microfiber cloth with distilled water or a 50/50 vinegar-water solution, then wipe and immediately dry with a separate soft cloth.
Before You Start
- Gather a clean, soft, lint-free microfiber cloth (at least one for dry dusting and one for damp cleaning) to avoid scratching the screen.
- Prepare a small bowl of distilled water or a mixture of equal parts distilled water and white vinegar, as tap water can leave mineral deposits that cause haze.
- Turn off the dashboard screen and let it cool down completely to prevent any heat-related damage and to make cleaning easier without streaks.
- Find a well-lit area or use a flashlight to inspect the screen for dust, smudges, and any existing spots so you know what needs attention.
Step-by-Step Instructions
Dust the Screen with a Dry Microfiber Cloth
Begin by gently wiping the entire screen surface with a clean, dry microfiber cloth to remove loose dust, dirt, and grit. Use light, even pressure in a circular motion, starting from the top and working your way down. This initial dry pass is crucial because it eliminates abrasive particles that could scratch the screen during later wet cleaning. If the cloth becomes visibly dirty, fold it to a fresh side or switch to another cloth. Continue until you can no longer see dust particles under a bright light. This step prevents the need to rub harder later, which could embed dirt and cause fine scratches. A thorough dry wipe makes the rest of the cleaning process safer and more effective, and it also minimizes the amount of moisture needed, reducing the risk of haze from leftover moisture.
Prepare the Damp Cleaning Cloth
Take a second clean microfiber cloth and slightly dampen it with your distilled water or vinegar-water solution. The cloth should feel damp, not wet; wring it thoroughly until no water drips out when you press it. This ensures you don't introduce excess moisture, which can seep into screen edges and cause damage or leave water spots that appear as haze. If you're using the vinegar solution, be aware that some screens are sensitive, so test on a small hidden edge first. The reason this careful preparation matters is that a too-wet cloth can lead to liquid pooling, which may damage internal components and create lasting stains. A properly damp cloth lifts smudges effectively without leaving pooling moisture, and it evaporates quickly, leaving a streak-free finish.
Wipe the Screen with Gentle Circular Motions
Gently wipe the screen using the damp cloth, again with light pressure and circular motions. Work from one side to the other, overlapping your strokes slightly to cover the entire surface evenly. Pay extra attention to areas where fingerprints or smudges are visible, but never press hard or scrub. The reason to use circular motions is that they help lift grime without concentrating pressure on one spot, and they ensure even cleaning. After a few passes, check the screen for remaining marks, but don't wipe until the screen is completely dry; you'll do a drying pass next. Over-wiping while the cloth is damp can leave lint, so be mindful of the cloth's condition. This step removes the oily residue and embedded dirt that dry wiping couldn't dislodge, and the gentle motion prevents micro-scratches that occur when you rub too forcefully.
Dry the Screen with a Fresh Microfiber Cloth
Take a third, completely dry microfiber cloth and gently buff the screen in the same circular fashion. This step removes any remaining moisture and prevents water spots, which can leave a hazy film if left to dry naturally. Move the cloth slowly, allowing it to absorb the moisture, and turn the cloth frequently to a dry side. You should see the screen becoming clear and streak-free. If streaks appear, it may mean the cloth is damp or dirty, so switch to a fresh dry area. The purpose of this drying pass is to achieve a perfect finish; it also helps remove any faint residue from the cleaning solution. Ensure every part of the screen is dry to the touch, especially the edges, because trapped moisture can lead to long-term damage. A clean, dry finish not only looks better but also prepares the screen for future cleaning.
Inspect the Screen for Haze or Streaks
Hold the screen at an angle and shine a light across its surface to check for any haze, streaks, or smudges that remain. If you see any, you may need to repeat the damp wipe and dry buff, but first assess whether the haze is due to leftover residue or a scratched protective layer. If it's residue, go back to step 3 and 4, but if the haze persists after several attempts, it could be a cleaning-induced haze from using the wrong product earlier. The reason for this inspection is that catching imperfections now lets you address them immediately, preventing them from becoming more noticeable over time. Also, check for any lint or dust particles that may have settled during drying, and use a dry cloth to pick them up gently. This thorough check ensures your dashboard screen is truly clean and clear.
Maintain Regularly to Prevent Buildup
To keep your dashboard screen clear and scratch-free, make a habit of cleaning it every week or two, depending on how often dust and fingerprints accumulate. Use the same gentle method each time, and avoid letting grime build up. Regular maintenance is essential because it prevents dirt from bonding to the screen, which can cause micro-scratches during cleaning. Also, avoid placing items on the screen or touching it with pens, rings, or other hard objects. By cleaning regularly, you'll reduce the need for heavy cleaning solutions that can leave haze. The reason this works is that a consistently clean surface never allows a layer of grime to form, making each cleaning quicker and safer. Over time, this reduces the risk of scratches and keeps the screen looking new.
Quick Reference
| Situation | Action | Why it helps |
|---|---|---|
| The screen has only light dust or fingerprints. | Use a dry microfiber cloth to gently wipe the screen in a circular motion until clean. | Dry wiping quickly removes loose dirt without introducing moisture, which can attract more dust or cause streaks. |
| The screen has stubborn smudges or sticky residue. | Dampen a microfiber cloth with distilled water or a vinegar solution and wipe gently, then dry with a separate cloth. | A slightly damp cloth helps break down oils and grime, while the immediate dry buff prevents water spots and streaking. |
| After cleaning, the screen appears hazy or streaky. | Inspect the screen under a bright light, and re-clean with a fresh dry cloth using gentle pressure, then buff with a new microfiber towel. | Haze often comes from leftover cleaning residue or moisture; a second dry pass removes it without adding more liquid. |
Common Issues
- Streaks remain after cleaning, especially in sunlight.: This usually happens when too much cleaning solution is used or the cloth is too wet. A third dry buff with a clean, lint-free cloth can remove residual streaks. If streaks persist, use a slightly damp cloth with distilled water only and dry immediately, then finish with a dry polish.
- Fine scratches or a permanent haze appears on the screen.: If scratches or haze are present, you may have used a harsh cloth or cleaner. Stop using abrasive materials and switch to a dedicated screen cleaner or a 50/50 water-vinegar mix on a soft microcloth. For deep scratches, consider a commercial screen polish designed for sensitive surfaces, but test on an inconspicuous area first.
- Dust or lint keeps sticking to the screen after cleaning.: Lint often comes from low-quality cloths or static charge. Use a high-quality, anti-static microfiber cloth and avoid dryer sheets or fabric softeners when washing them, as these residues attract dust. If static persists, lightly dampen the cloth with distilled water and wring thoroughly before the final pass.
Advanced Tips
- Apply a thin layer of a hydrophobic screen protectant designed for electronics, which can repel dust and oils making future cleaning easier, but always test on a small area first.
- When cleaning, move the screen in a 'Z' pattern in addition to circles to ensure even coverage, but always follow with a final circular buff to bring out the shine.
- If the screen has a bezel, use a cotton swab dipped in the damp solution to gently clean the edges and crevices, but avoid pressing hard as this can push debris inside.
Final Checklist
- Turn off the screen and let it cool completely.
- Gather clean, dry, soft microfiber cloths and a distilled water or vinegar solution.
- Dust the screen dry, then dampen a cloth and wipe gently, then dry thoroughly.
- Inspect under light for haze, and clean regularly to prevent buildup.
FAQ
Can I use window cleaner to clean my dashboard screen?
No, avoid window cleaners, as they often contain ammonia or alcohol that can strip the screen's protective coating and cause cracking over time. Stick to distilled water or a mixture of water and vinegar, applied with a soft microfiber cloth.
How often should I clean the dashboard screen?
Clean once a week to prevent dust and fingerprints from building up. If you notice visible smudges, clean them immediately using the gentle method described. Regular light cleaning is better than waiting for a heavy buildup that requires more abrasive action.
What should I do if my screen gets scratched?
If scratches are minor, you can try a specialized plastic or screen polish, but always test on a hidden edge. For deep scratches, consider replacing the screen protector or consulting a professional. Prevention is best: always use a soft cloth and never press hard.