Common Mistakes When Planning Removing Road Film From Exterior Trim Safely
A practical step-by-step guide to common mistakes when planning removing road film from exterior trim safely, including preparation, instructions, common issues, tips, and next steps.
Common Mistakes When Planning Removing Road Film From Exterior Trim Safely
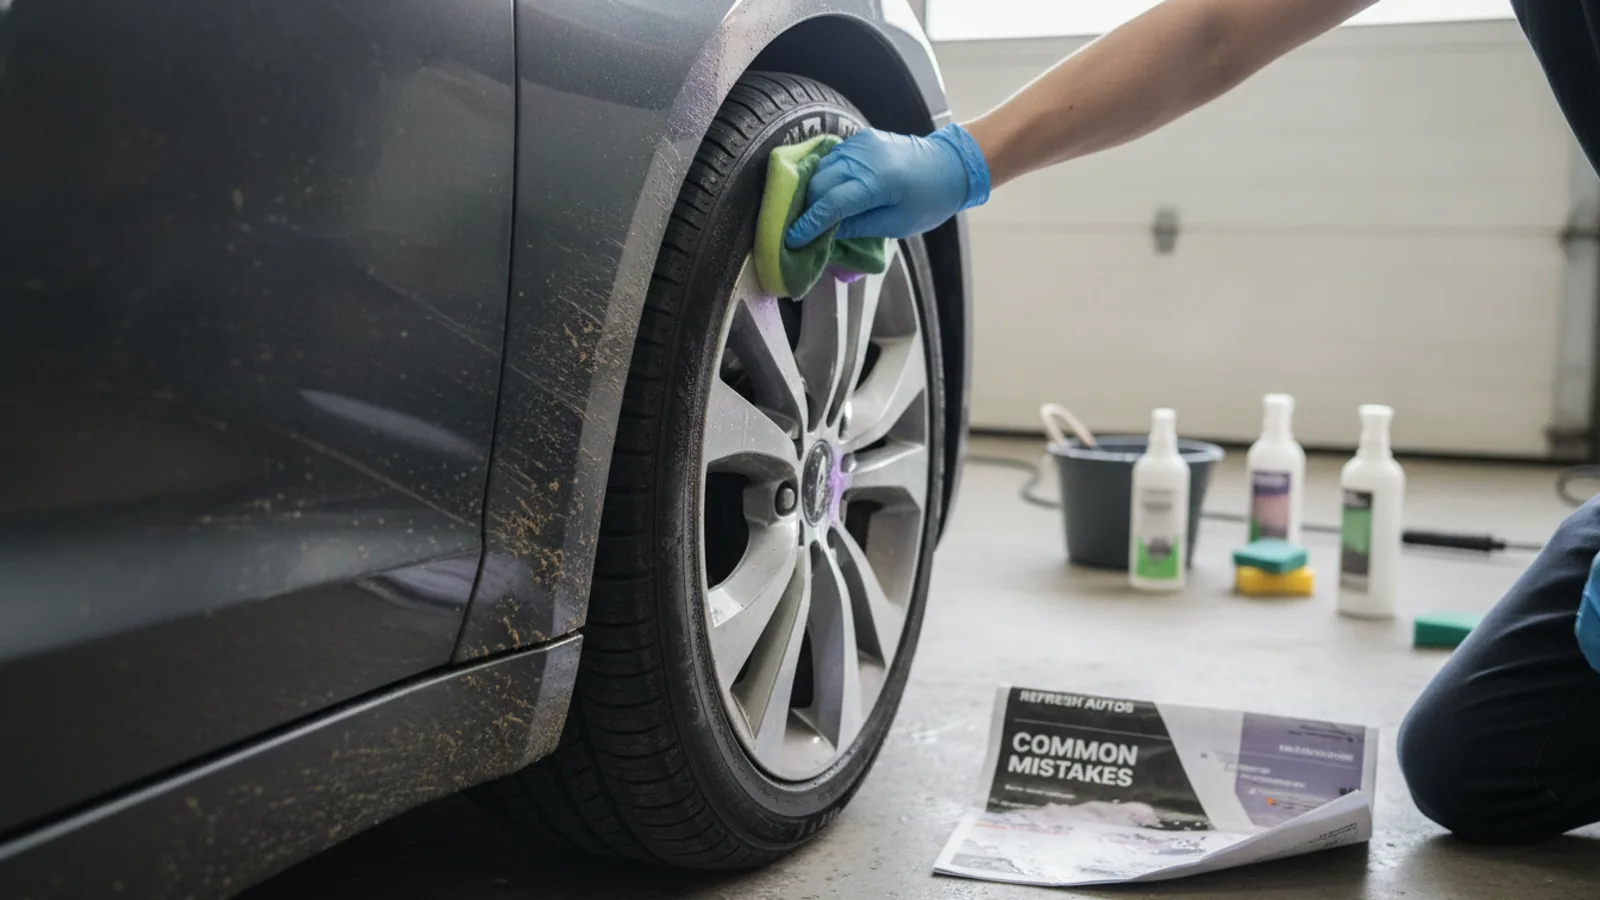
Removing road film from exterior trim seems simple, but common planning mistakes can damage plastic, rubber, and painted surfaces. This guide covers how to avoid those errors by choosing the right products, testing in hidden areas, using proper tools, and following a safe sequence. You will learn how to protect sensitive trim, prevent streaks and stains, and keep your vehicle looking clean without causing long-term harm. The steps emphasize gentle techniques, pH-balanced cleaners, and the importance of rinsing thoroughly. Whether you are dealing with light dust or heavy residue, careful preparation and methodical work ensure safe results. This guide also includes troubleshooting for issues like white residue and stubborn grime, plus advanced tips for coating trim. Follow the checklist before you start to make the process smoother and safer.
Fast Answer
- Avoid acidic or solvent-heavy cleaners because they can strip protective coatings and cause plastic trim to fade, crack, or turn chalky.
- Always test any cleaner on a small hidden trim area first, and use a soft microfiber cloth to prevent scratching fragile surfaces.
Before You Start
- Gather pH-balanced car wash soap, a dedicated trim cleaner without harsh solvents, and a separate bucket for rinsing.
- Collect soft microfiber towels, a soft-bristle brush for textured trim, and a spray bottle filled with clean water.
- Park the vehicle in shade with a cool surface, because hot trim absorbs chemicals faster and can dry them onto the surface.
- Have a mild plastic-safe degreaser available only for stubborn tar or wax-like film, and keep a hose or pressure washer set to low.
Step-by-Step Instructions
Rinse the Trim First to Remove Loose Dirt
Start by thoroughly rinsing the exterior trim with a gentle stream of water from a hose or a pressure washer set to a wide angle and low pressure. This step removes loose dust, sand, and road film particles that could scratch the trim when you touch it. Pay special attention to crevices and edges where dirt accumulates. Keep the nozzle at least 30 centimeters away from the trim to avoid forcing water into gaps or under seals. After rinsing, inspect the trim for any remaining gritty residue. If you see heavy contamination, repeat the rinse or use a soft brush with clean water before proceeding. This initial rinse is critical because it reduces the risk of scratching during the cleaning process. A proper rinse also helps the cleaner work more effectively by allowing it to contact the actual film rather than loose debris.
Clean the Surrounding Paint Lightly
Before you focus on the trim, gently wash the adjacent painted panels with a pH-balanced car soap solution. Use a separate microfiber mitt or sponge that you have dedicated to paint. This step prevents road film from the paint from dripping down onto the trim while you are cleaning it, and it also makes the trim easier to see. Mix the soap according to the label directions and work in a section about a square meter at a time. Rinse each section before moving on. Do not let the soap dry on the paint or trim. After washing the paint, rinse the entire area again. By doing this, you ensure that the only remaining contaminants are on the trim itself, which helps you judge how much cleaning effort the trim really needs. It also minimizes the chance of cross-contamination between surfaces.
Test That Cleaner in a Discreet Spot
Choose a small, hidden section of the trim, such as the lower edge of a bumper or an inside corner, and apply a small amount of your chosen trim cleaner to a microfiber towel. Gently rub the area with light pressure using a back-and-forth motion. Wait about a minute and examine the area for any color change, streaking, or dullness. Also feel the surface; it should remain smooth and not tacky or sticky. If you see any adverse reaction, stop immediately and select a different cleaner that is specifically labeled safe for plastic and rubber trim. This test is essential because many exterior trim pieces have protective coatings that can be stripped by aggressive chemicals. Testing prevents irreversible damage that you would otherwise notice only after the whole trim is ruined. The hidden spot ensures that any mistake is not visible, and you can compare the tested area with the surrounding original surface.
Work the Cleaner Into the Texture
Apply the trim cleaner generously to a soft-bristle brush or a clean microfiber towel, and work it into the trim using gentle circular motions. Focus on textured areas where road film accumulates in the tiny pores. For heavily soiled spots, let the cleaner sit for 30 to 60 seconds, but never let it dry completely. Use the brush to agitate the surface softly, paying attention to the edges and corners where residue hides. Do not use a stiff brush or scrub hard, as this can create fine scratches or remove the texture. After agitating, wipe away the loosened film with a separate microfiber towel. The goal is to dissolve the film with the cleaner, not to scrub it off physically. This approach protects the trim's finish and ensures that all the grime is removed without causing abrasion. You may need to repeat this step for areas expose to heavy road film, such as the lower parts of the trim.
Rinse the Trim Thoroughly and Slowly
After you have cleaned the entire trim, rinse it thoroughly with a low-pressure stream of water. Direct the water from top to bottom and keep the nozzle moving to avoid concentrating the spray in one area. Make sure you rinse every crevice and edge, because leftover cleaner can dry to a white powdery residue or attract new dirt. The rinse should continue until no soap or cleaner suds are visible. If you have a pressure washer, use a gentle fan setting and keep the nozzle at least 15 centimeters away. After rinsing, feel the trim with your hand; it should be slick and free of any residue. If you notice any leftover film, you may need to repeat the cleaning and rinsing steps. A thorough rinse is especially important for textured trim, where residue can hide in the grain. Drying quickly afterward helps prevent water spots on nearby paint.
Dry and Inspect the Trim Under Good Light
Use a clean, dry microfiber towel to pat the trim dry, rather than rubbing, which can smear any remaining residue. Work from the top down and use a separate towel if the first becomes saturated. After drying, examine the trim under bright but indirect light, such as a work lamp or the sun from an angle. Look for streaks, white spots, or areas that still appear dull or filmed over. If you find any, spot-clean those areas gently using the same cleaner and a soft towel, then rinse again. This final inspection is your chance to catch mistakes before the trim fully dries, because once dry, some residues can become more difficult to remove. If the trim looks clean and has an even color, you are ready to apply a protectant if desired. A thorough inspection ensures that you have not left any chemical deposits that could damage the trim over time.
Quick Reference
| Situation | Action | Why it helps |
|---|---|---|
| You notice white streaks on dark trim after cleaning | mmediately rinse the affected area with clean water, then gently re-clean with a pH-balanced cleaner and dry with a microfiber towel. | White streaks often indicate cleaner residue or a chemical reaction; rinsing prevents permanent etching. |
| The trim is black plastic and you see a gray film that won't come off with soap | Use a dedicated plastic trim cleaner with a soft brush, and test it in a hidden area first before applying to the whole surface. | Gray film may be oxidized plastic or embedded grime that needs a solvent-based trim cleaner specifically designed for plastic. |
| You accidentally used an all-purpose cleaner on the trim and it looks duller | Rinse the trim with water, then apply a plastic-safe conditioner to restore some gloss, and avoid harsh cleaners in the future. | All-purpose cleaners can strip protective coatings, so the conditioner helps replenish moisture and reduce dullness. |
Common Issues
- A cleaner leaves a sticky residue on the trim: Rinse the trim with water immediately, then use a mild soap solution to wash the area, and re-rinse. If residue persists, use a dedicated plastic-safe solvent cleaner, but test in a hidden spot first.
- The trim has become chalky white after cleaning: Lightly apply a trim protector that contains UV blockers to disguise the chalkiness, but first clean the trim again with a gentle brush to remove loose powder. If the damage is severe, consider a professional trim restorer.
- Road film is trapped in the textured grain and you cannot remove it all: Use a soft-bristle toothbrush or a trim cleaning brush with a mild degreaser, work in small circles, and rinse thoroughly. Repeat until the grain is clear, then dry with a microfiber towel.
Advanced Tips
- For heavily oxidized trim, use a specialized rubber and plastic restore product, but always follow the label instructions and apply with a soft applicator pad.
- After cleaning, apply a water-based silicone-free dressing to protect the trim and repel road film, but avoid over-application as it can attract dust.
- To avoid future buildup, wax the painted surfaces of the vehicle but keep wax off the trim, and consider using a trim sealant that does not require high gloss.
Final Checklist
- The vehicle is parked in the shade and the trim is cool to the touch.
- You have a dedicated pH-balanced cleaner and have tested it on a hidden spot.
- Soft-bristle brush and several clean microfiber towels are ready.
- You have a low-pressure rinse method and have time to dry and inspect the trim after cleaning.
FAQ
Can I use dish soap to clean exterior trim?
No, dish soap is often alkaline and can strip protective coatings from plastic trim, leaving it vulnerable to fading and cracking. It can also leave a residue that attracts dirt. Use a pH-balanced car wash soap or a dedicated trim cleaner instead.
How often should I clean and protect exterior trim?
It depends on your climate and driving conditions, but a general heuristics is to clean the trim every two to three months and reapply a protectant after each wash. If you notice white streaks or dullness, clean it more often. Always inspect the trim during regular car washes.
Can I use a pressure washer to clean the trim?
You can use a pressure washer, but you must use a wide-angle nozzle and keep the pressure low, usually below 1500 PSI. Keep the nozzle at least 30 centimeters away from the trim to avoid forcing water under seals or damaging the trim. Never use a concentrated jet directly on the trim.